Easy Halloween Crafts for Kids and Families to Make
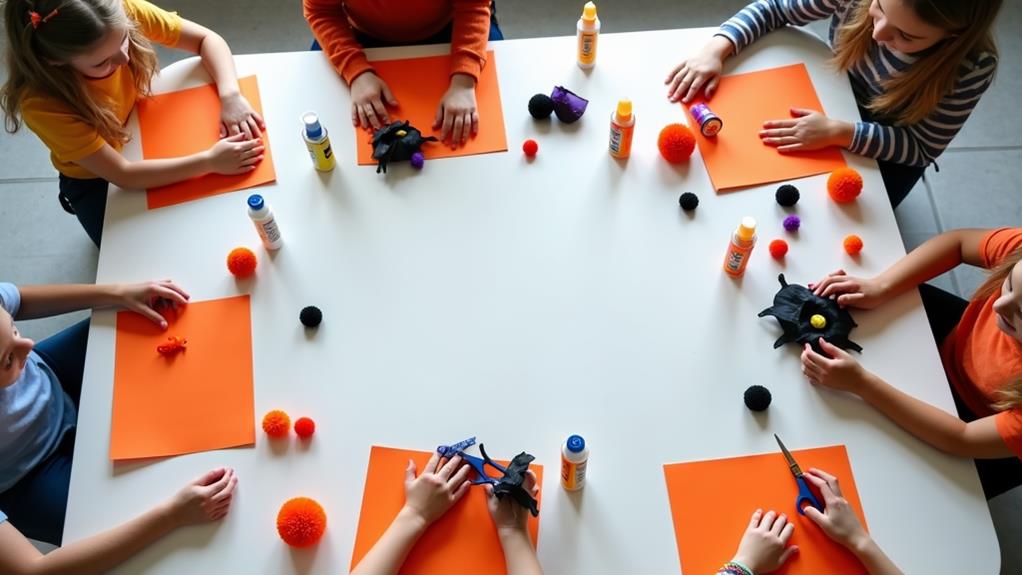
As we count down to Halloween, we're excited to share some spooky-ooky fun with our favorite little monsters! We've got a treat in store for you – a collection of easy and fun craft ideas that are perfect for kids and families to make together. From transforming paper plates into witch hats to unraveling yarn into spider web door hangers, these projects are sure to cast a spell of creativity and excitement. But that's not all – we've got even more tricks up our sleeves. Want to know what else we've conjured up?
Key Takeaways
- Create a witch hat using a paper plate, markers, and ribbon, adding a personal touch with glitter, sequins, or fake spiders.
- Make ghostly decorations by attaching glow sticks to cardboard or Styrofoam balls and hanging them from trees or windows.
- Craft a spider web door hanger using black yarn and a wire hanger, adding fake spiders for a spooky effect.
- Design a candy corn wreath frame by gluing candy corn to a wire or foam frame, perfect for a personalized Halloween decoration.
- Transform a mason jar into a mummy lantern by wrapping toilet paper or gauze around it and adding glow sticks or a candle inside.
Paper Plate Witch Hats
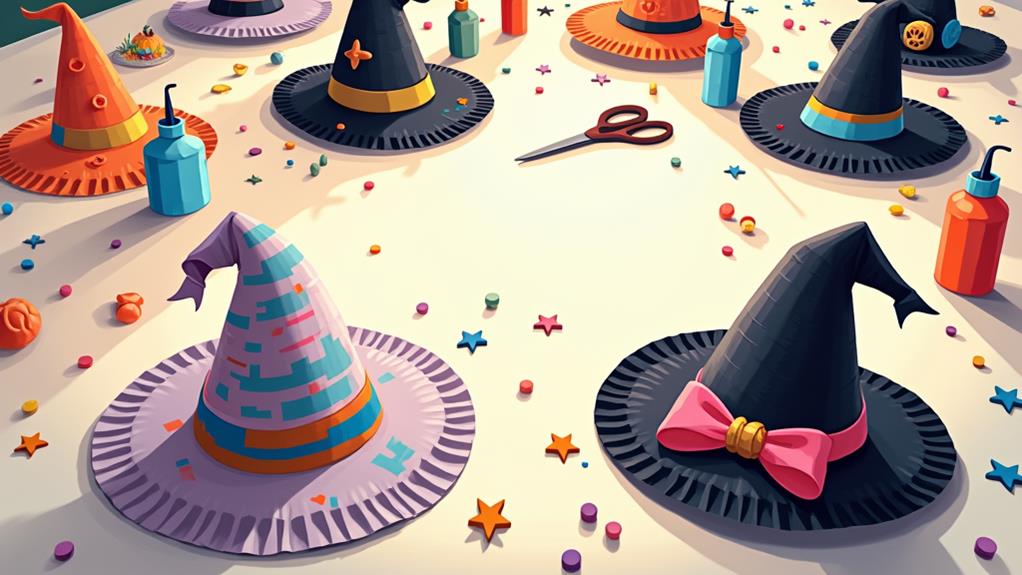
As we plunge into the spook-tacular world of Halloween crafts, we're conjuring up a spellbinding project that's sure to delight kids of all ages – Paper Plate Witch Hats!
With just a few simple materials, we can whip up a pointy hat that's perfect for any little witch or warlock.
Start by decorating a paper plate with markers, paint, or stickers to create a unique Plate decoration.
Add some Witchy accessories like a ribbon or string to create a chin strap, and a small paper brim to give it a more authentic look.
Next, we'll add some witchy flair with glitter, sequins, or even a fake spider or two.
To make it even more spellbinding, we can add a small paper cone to the top of the hat, creating a pointy tip that's sure to make any little witch feel like they're brewing up a potion.
With these Paper Plate Witch Hats, kids can let their imaginations run wild and create their own magical characters.
Ghostly Glow Stick Eyes
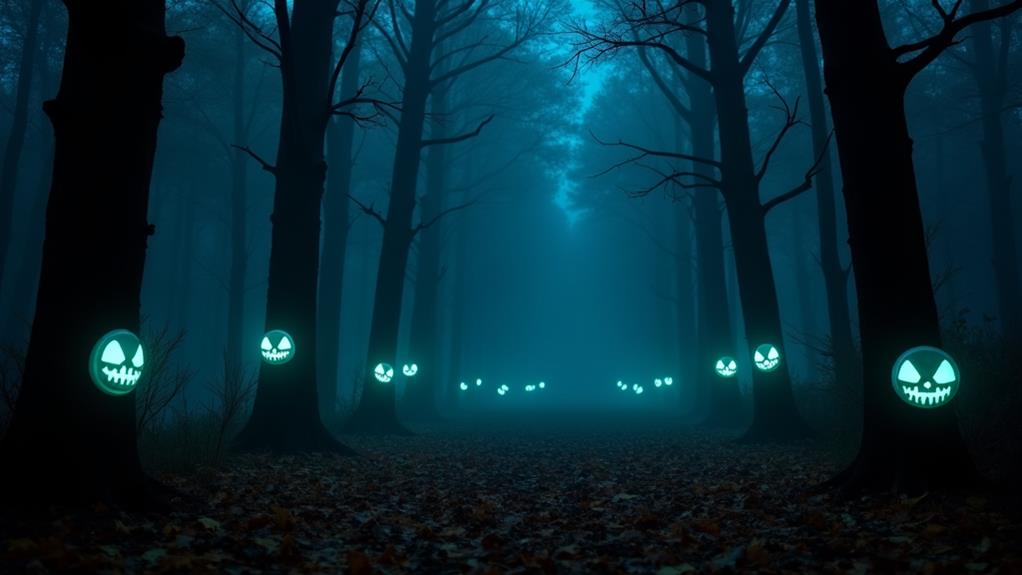
Our next creepy creation is sure to illuminate the faces of our little monsters – Ghostly Glow Stick Eyes!
These eerie embellishments are ridiculously easy to create and add a haunting touch to any Halloween gathering.
Simply stick glow sticks to a pair of cardboard or Styrofoam balls, and voilà! You've got a pair of glowing peepers that'll send shivers down the spines of trick-or-treaters.
To take it up a notch, we like to attach the glow stick eyes to a black paper plate or construction paper, creating a spooky face that'll light up the night.
Hang them from trees, windows, or even the porch to create a spooky ambiance that'll make your house the talk of the neighborhood.
And the best part? These glowing decorations are completely kid-friendly, making them a great activity for families to enjoy together.
Spider Web Door Hanger
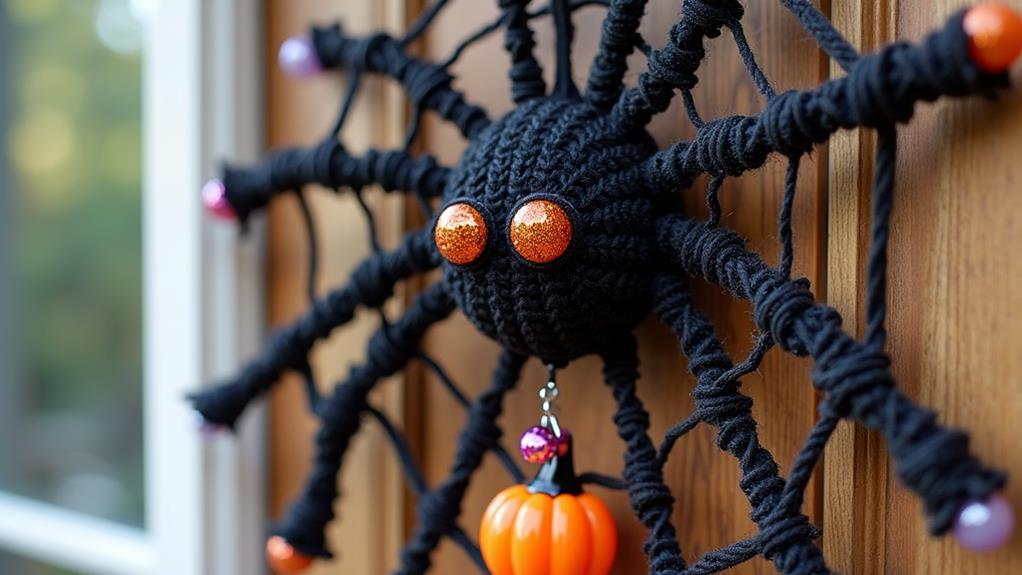
We're trading in ghostly gazes for eerie entanglements with our next Halloween craft: the Spider Web Door Hanger!
This spooky-chic decor is sure to ensnare your front door and set the tone for a hauntingly good time.
To create this web-tastic masterpiece, you'll need a wire hanger, black yarn, scissors, and a hot glue gun.
Simply unravel the yarn to create a web-like effect, wrapping it around the hanger in a circular motion.
Secure the yarn with hot glue as you go, making sure to leave a small opening to hang your masterpiece.
For an added touch, we like to add a few fake spiders for an eerie effect.
This Spider decor isn't only easy to make but also makes for a great Web art project for kids.
Hang it on your front door, and get ready for a spider-tacular Halloween!
Candy Corn Wreath Frames
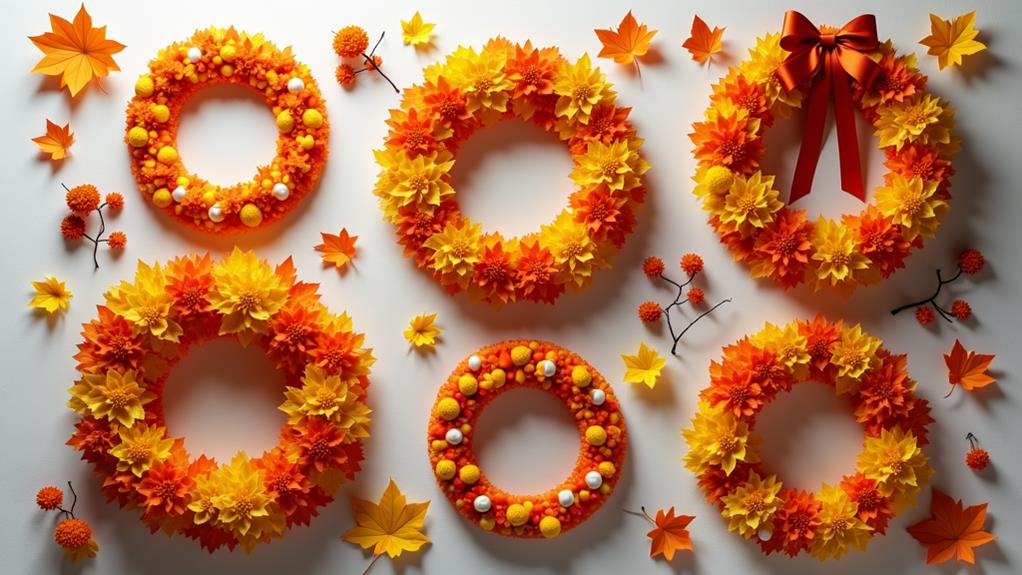
Sweeten up your Halloween decor with a burst of colorful candy corn! We love incorporating candy themes into our Fall decorations, and this project is a sweet way to do just that.
To create a Candy Corn Wreath Frame, you'll need a wire or foam wreath frame, candy corn, and a hot glue gun.
Simply glue the candy corn to the frame in a pattern that suits your style – we like to alternate the colors for a playful look.
As you work, be sure to leave a small space in the center of the wreath for a photo or other decoration.
This is a great spot to add a personalized touch, like a family photo or a fun Halloween-themed graphic.
Once the glue is dry, your wreath is ready to hang.
You can add a ribbon or string to make it easy to hang on a door or wall.
This project is easy enough for kids to help with, and they'll love the sweet result.
Plus, it's a great way to get them involved in decorating for the holiday.
With a little creativity, you can create a one-of-a-kind Fall decoration that's sure to be a hit.
Mason Jar Mummy Lantern
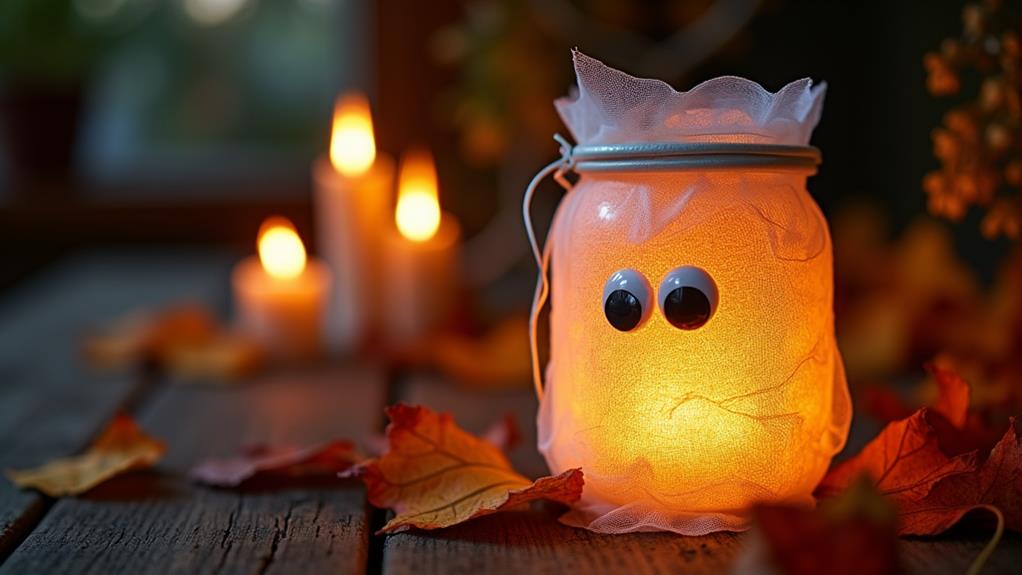
As we wrap up our candy corn creations, let's unwrap a new spooky sensation – the Mason Jar Mummy Lantern!
This craft is a perfect way to add some eerie ambiance to your Halloween decor.
With just a few simple materials, you can create a lantern that's sure to be the center of attention.
To make your Mason Jar Mummy Lantern, you'll need:
- A mason jar
- White glue
- Toilet paper or gauze
Wrap the toilet paper or gauze around the mason jar to create the mummy's wrappings.
Secure with white glue.
Add some glow sticks or a small candle inside the jar to create a spooky glow.
You can also decorate the outside of the jar with Mummy decorations, such as stickers or paint.
This lantern is perfect for placing on your porch or in a window as a beacon for trick-or-treaters.
You can also use it as a Lantern center for your Halloween party.
With its eerie glow and spooky wrappings, it's sure to be a hit with kids and adults alike.
Frankenstein's Monster Finger Puppets
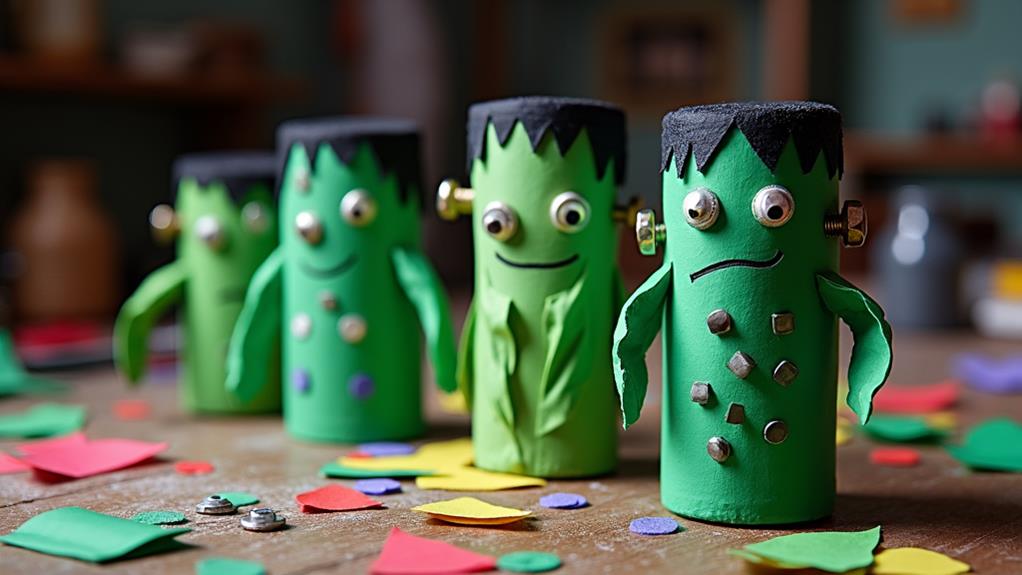
Get ready to bring Frankenstein's monster to life with our finger puppet craft!
We're excited to share this spook-tacular activity with our fellow monster makers and Frankenstein friends.
To start, gather green felt, scissors, glue, and markers. Cut out the monster's body, hair, and facial features from the felt.
Assemble the pieces, adding wiggly eyes and a stitched mouth for a spooky touch.
Next, turn your fingers into the monster's limbs by gluing the felt body to a popsicle stick or a finger sock.
Add a few fake bolts to the neck for an authentic look.
Now, it's time to bring your monster to life! Use your fingers to animate the puppet, making it walk, talk, and even dance.
You can create a whole cast of monsters, each with its own unique personality.
With these finger puppets, the possibilities are endless, and we can't wait to see what kind of monstrous fun you'll have!
Popsicle Stick Broomsticks
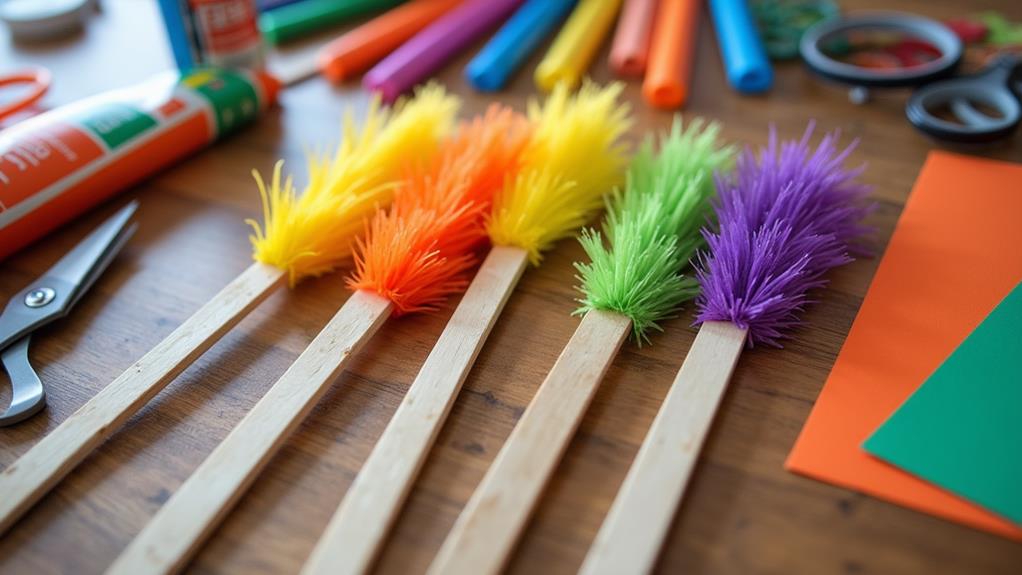
We're conjuring up some magic wands, Halloween-style! With Popsicle Stick Broomsticks, the whole family can get creative and add a touch of magic to their Halloween decorations.
Did you know that broomsticks have a rich history dating back to ancient times?
They were believed to have magical powers and were often used in rituals and ceremonies. Today, we're going to create our own mini broomsticks using Popsicle sticks, glue, and some imagination.
Here's how to get started:
- Gather materials: Popsicle sticks, glue, scissors, and stick decorations such as glitter, stickers, or paint.
- Assemble the broom: Glue the Popsicle sticks together to form the broom's bristles and attach them to a central stick.
- Add decorations: Get creative with stick decorations like glitter, stickers, or paint to add a personal touch to your broomstick.
With these easy steps, you'll have a mini broomstick in no time.
Hang them on your wall or use them as centerpieces for a spooky Halloween party.
Paper Bag Monster Masks
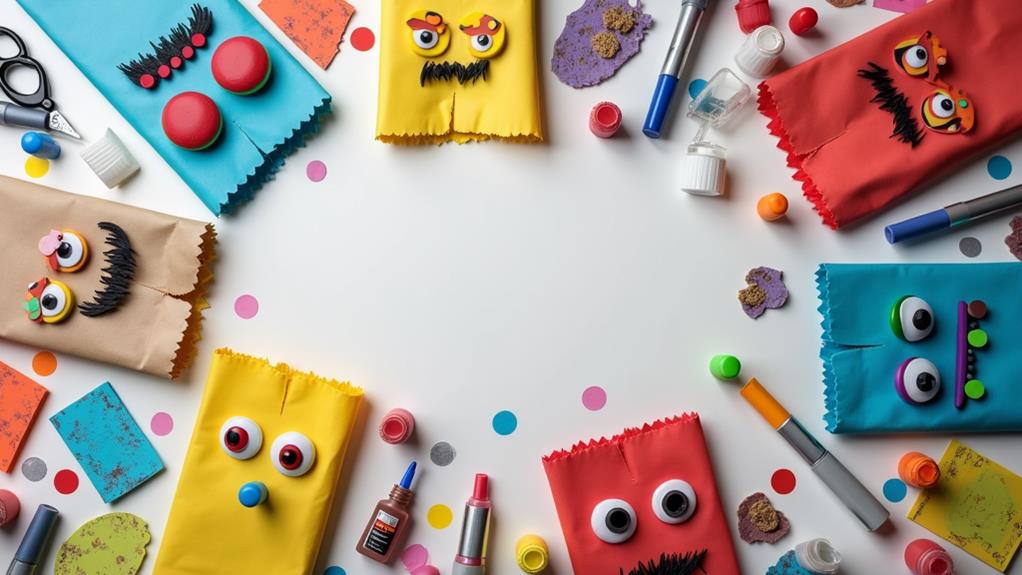
Now that our mini broomsticks are casting their spell, let's release our inner monsters with Paper Bag Monster Masks!
We love how these creepy-cute creations bring out the kid in us.
With just a few simple materials, we can transform plain paper bags into frightfully fun monster faces.
To start, we'll need paper bags, scissors, glue, markers, and some spooky imagination.
Cut out eyes, teeth, and other features to create your monster's face.
You can make them as scary or as silly as you like!
Glue the features onto the bag, then decorate with markers, stickers, or even fabric paint.
Add some elastic or a rubber band to hold the mask in place, and you're ready to roar!
These Bag creations are perfect for Halloween parties, trick-or-treating, or just for playing dress-up at home.
We love how they encourage creativity and role-playing.
Plus, they're an eco-friendly way to reuse paper bags and reduce waste.
Yarn Wrapped Pumpkin Decor
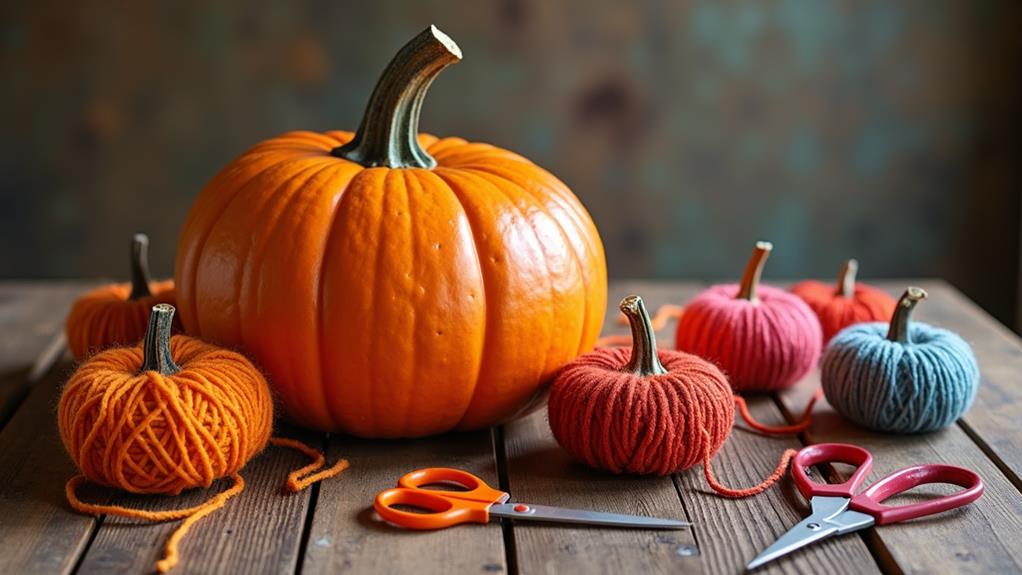
Frequently, as the autumn season unfolds, our homes and porches become a canvas for creative expression, and what better way to add a pop of color and warmth than with a beautifully yarn-wrapped pumpkin?
This simple yet impressive pumpkin design is a fantastic way to get our kids involved in autumn decor.
To create this stunning piece, we'll need a few basic supplies: a pumpkin, yarn of our choice, scissors, and a hot glue gun.
- Wrap the yarn: Start by wrapping the yarn around the pumpkin in a spiral motion, overlapping the yarn as we go to guarantee complete coverage.
- Secure with glue: Once we've covered the entire pumpkin, use hot glue to secure the yarn in place.
- Add a finishing touch: Finally, add a small bow or embellishment to the stem of the pumpkin to complete the look.
This yarn-wrapped pumpkin decor is a perfect addition to our autumn decor, and it's an activity that's fun and engaging for kids of all ages.
Mini Paper Mache Skulls
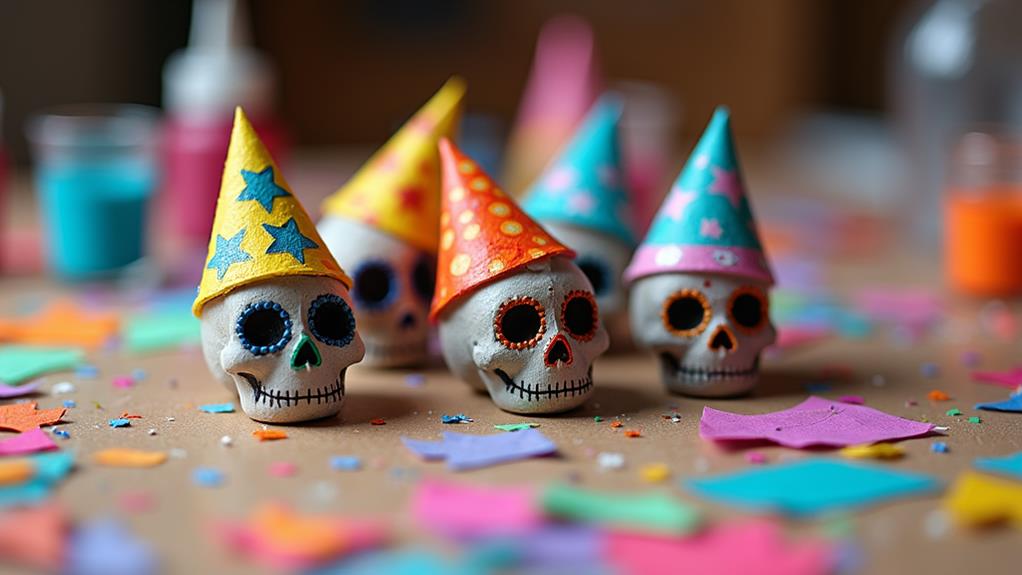
How can we add a touch of spooky charm to our Halloween decor without breaking the bank?
One easy and creative way is to make mini paper mache skulls! With minimal materials and some simple Mache techniques, we can create unique and eerie skull decorations that will add a haunting touch to our Halloween displays.
To start, we'll need balloons, newspaper, glue, and water.
We'll blow up the balloons to the desired skull size, then tear newspaper strips and soak them in a mixture of glue and water.
We'll wrap the strips around the balloons, layer by layer, until we achieve the desired thickness.
Once dry, we can pop the balloons and paint our skulls with creepy colors and designs.
The best part?
We can customize our skulls to fit our Halloween theme.
We can add wigs, hats, or even fake spiders to create a spooky spectacle.
And, with Mache techniques, we can experiment with different textures and shapes to create one-of-a-kind skull decorations.
Tin Can Bat Silhouettes
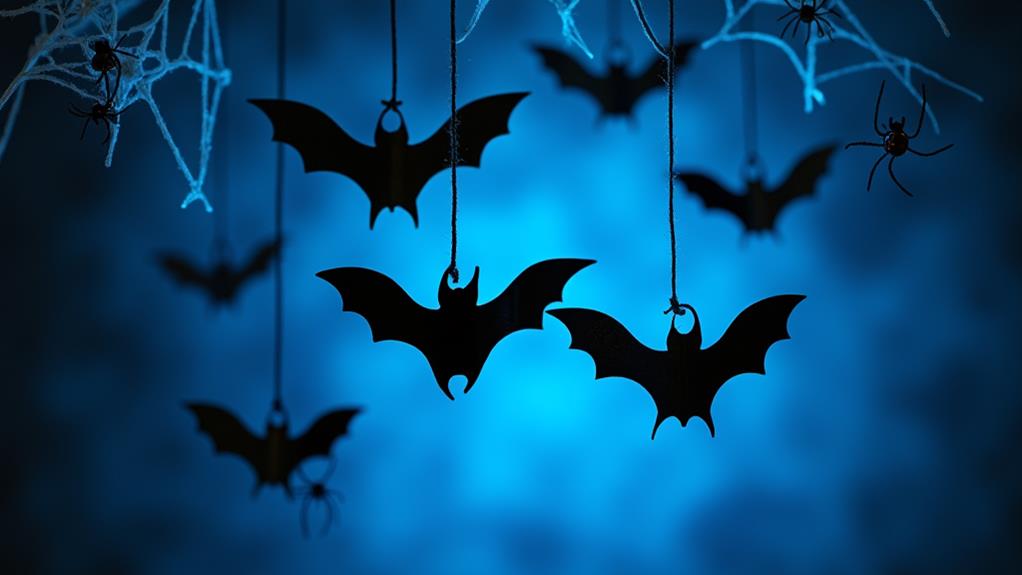
We're taking our Halloween decor to new heights – literally! – with tin can bat silhouettes that will swoop their way into our hearts.
These adorable bat decorations are easy to make and require minimal materials, making them a perfect project for kids and families.
To create these flying friends, we'll need:
- Clean tin cans: Empty and clean tin cans of various sizes will serve as the base for our bat silhouettes.
- Black paint and paintbrushes: We'll use black paint to create the bat's silhouette on the tin can. Don't forget to grab some paintbrushes in different sizes!
- Twine or string: To hang our bats, we'll need some twine or string to attach to the top of the can.
Once we've gathered our materials, it's time to get creative!
Paint the bat's silhouette onto the tin can, add some twine for hanging, and voila!
Our tin can bat silhouettes are ready to take flight.
Hang them from the ceiling or a window to create a spooky yet adorable tin artwork display.
These bat decorations are sure to be a hit with kids and adults alike!
Conclusion
We've conjured up a cauldron of spooky fun with these easy Halloween crafts! From witch hats to mummy lanterns, these projects are sure to cast a spell of creativity on kids and families alike. With just a few simple materials, we've transformed everyday items into haunted decorations that will make your home howl with delight. So gather 'round, get crafty, and make this Halloween one to remember!


