Cheap Diy Halloween Sign Ideas
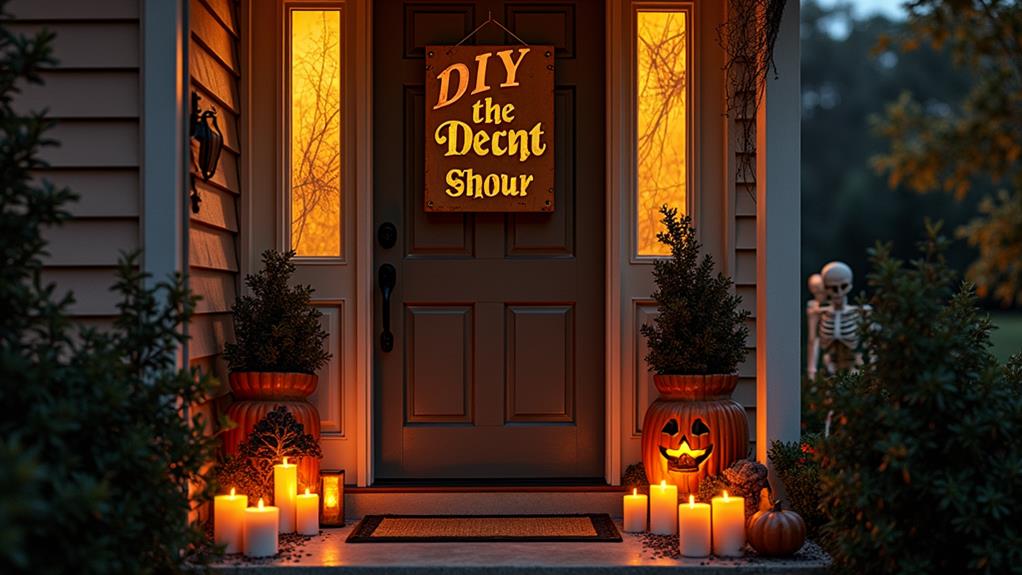
As we start brainstorming ideas to transform our homes into a spooky haven, we're always on the lookout for creative and budget-friendly solutions. This year, we're turning our attention to DIY Halloween signs that will set the tone for a hauntingly good time. From wooden signs with an eerie glow to mason jars with a skull face, we're excited to explore the possibilities. But that's just the beginning – we've got a few tricks up our sleeves, and we can't wait to share them with you.
Key Takeaways
- Use wooden planks, black paint, and glow-in-the-dark paint to create eerie signs with glowing eyes for a spooky ambiance.
- Create faux blood-dripping letters on wooden signs using paint pens, water, and red paint for a creepy effect.
- Transform mason jars into lanterns with a skull face using white paint and add a tea light or small candle for a spooky glow.
- Use unconventional materials like candy corn, burlap, and twigs to create unique and festive Halloween signs that are budget-friendly.
- Repurpose old lanterns, window frames, and metal grids to create one-of-a-kind Halloween decorations that are both spooky and impressive.
Glowing Eyes on Wood
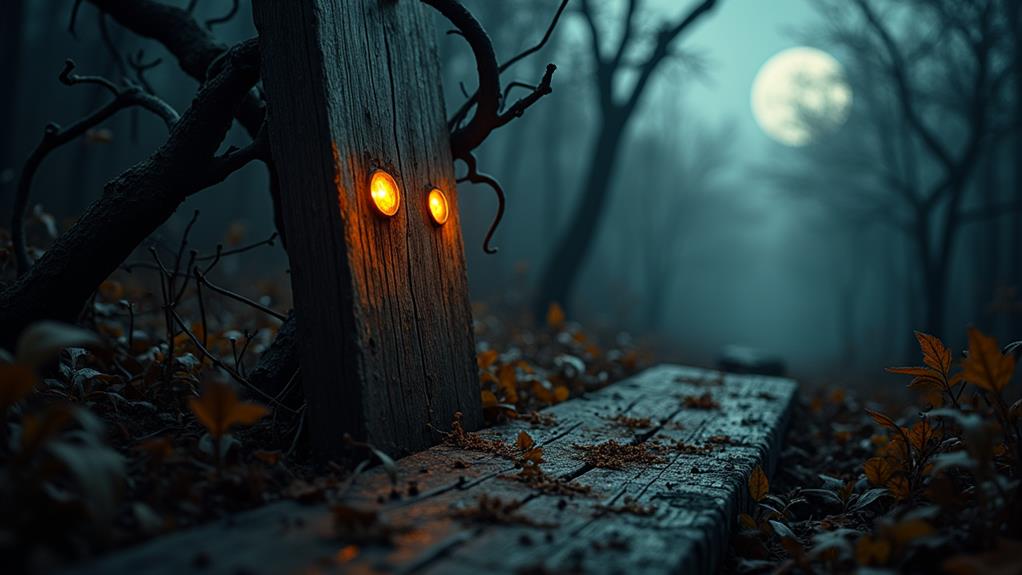
We're conjuring up a spooky ambiance with our DIY Halloween sign, and it starts with "Glowing Eyes on Wood".
To create this eerie effect, we'll use wood burning and glow painting techniques.
First, we'll grab a wooden plank and use a wood burning tool to etch out two oval shapes, resembling eyes. Don't worry too much about perfection – the imperfections will add to the spooky vibe!
Next, we'll coat the entire plank with a black acrylic paint, making sure to cover the etched eyes completely.
Once dry, we'll use glow-in-the-dark paint to recreate the eyes, adding a pop of eerie green to the darkness.
To take it up a notch, we can add some subtle shading around the eyes using a charcoal pencil.
Finally, we'll attach some twine or rope to the top of the plank, creating a makeshift hanger.
Hang it on your porch or in a window, and watch as the glowing eyes seem to follow trick-or-treaters as they approach!
Rusty Metal Spider Web
As the sun sets on All Hallows' Eve, our porch or entryway transforms into a haunted lair, thanks to the eerie ambiance of our DIY Halloween signs.
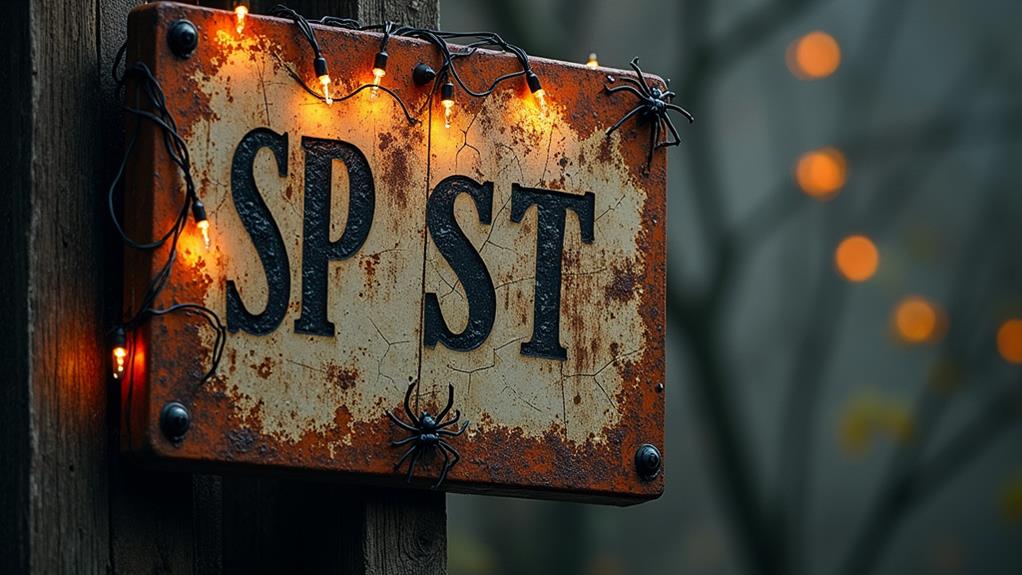
One of our favorite creations is the Rusty Metal Spider Web sign, which adds a touch of industrial horror to our exterior decor.
To create this metal masterpiece, we'll need:
- A metal wire grid or mesh panel (you can find these at a hardware store or reuse an old metal screen door)
- Rust-colored spray paint or a weathering solution to give it a distressed look
- A hot glue gun to attach fake spider webs or black cotton cobwebs
- A sturdy frame or a wooden board to mount the metal grid on
We'll start by spray painting the metal grid with a rust-colored paint or applying a weathering solution to give it a weathered look.
Once dry, we'll attach the fake spider webs or black cotton cobwebs using hot glue.
Finally, we'll mount the metal grid on a sturdy frame or wooden board, and hang it on our porch or entryway.
The result is a hauntingly beautiful metal decor that's sure to impress our trick-or-treaters.
With its rusty, industrial look, this spider web sign is the perfect addition to our DIY Halloween decor.
Mason Jar Lantern Skull
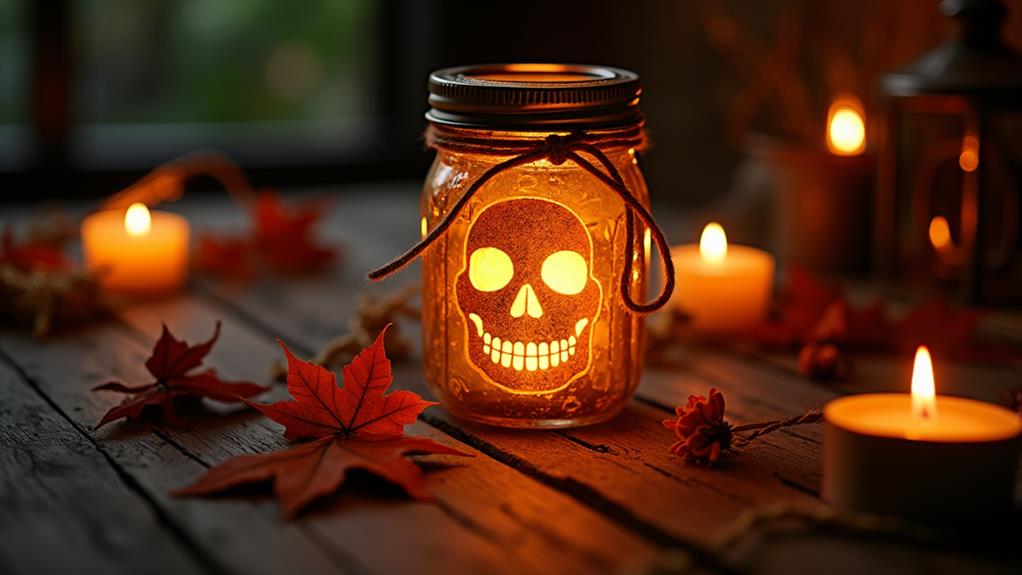
Mason jars, those humble containers of summertime sweetness, transform into lanterns of darkness with a few clever tweaks, becoming an eerie beacon on our porch or entryway.
For this spooky Mason jar decor, we'll turn them into lanterns with a skull face, adding an air of mystery to our Halloween decor.
We'll start by painting the Mason jars black, allowing them to dry completely.
Next, we'll use white paint to create a skull face on each jar, adding details like eyes and a mouth.
To give it a spooky glow, we'll place a tea light or small candle inside each jar.
To complete the Lantern making process, we'll wrap twine or black ribbon around the lid of each jar, adding a rustic touch.
Finally, we'll place the lanterns on our porch or entryway, casting an eerie glow as the sun sets.
These lanterns are the perfect addition to our DIY Halloween decor, adding a touch of darkness to our festive atmosphere.
Cobweb-Covered Vintage Window Frame
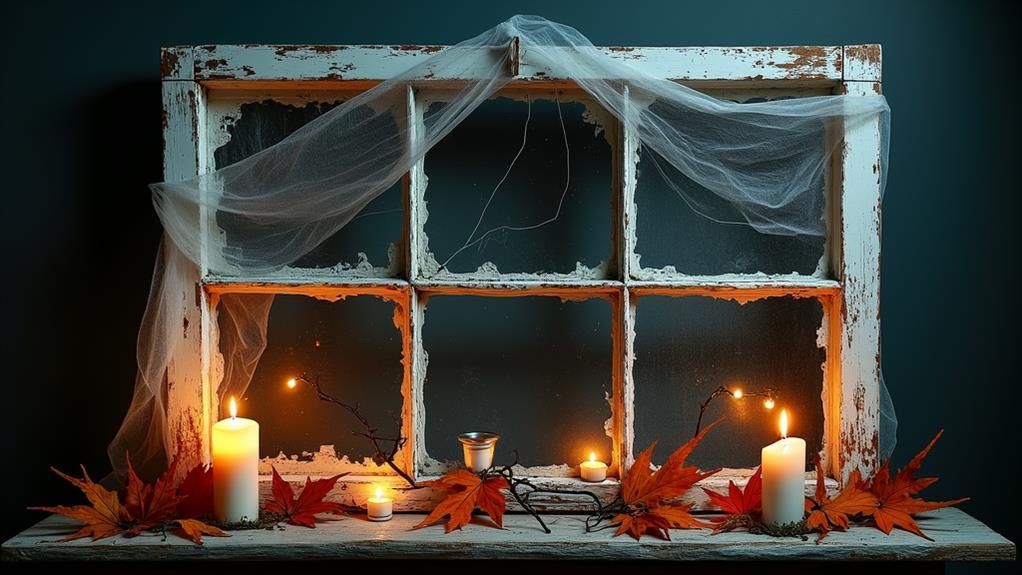
Hang vintage window frames on our porch or entryway, and instantly, we've got a spooky focal point.
To take it to the next level, let's add some creepy cobwebs. A cobweb-covered vintage window frame is the perfect DIY project to add some rustic charm to our Halloween decor.
Here's how we can create this eerie effect:
- Gather materials: Collect vintage window frames, black cotton cobwebs, and a hot glue gun.
- Add the cobwebs: Stretch the cotton cobwebs across the window frame, securing them with hot glue. We can create a random pattern or go for a more symmetrical look.
- Add some vintage decor: Hang old lanterns, wreaths, or other Halloween-themed decor from the window frame to add some depth and visual interest.
- Finish with a spooky touch: Use some black paint or markers to add some creepy details, like spiders or bats, to the window frame.
With these simple steps, we can create a unique and spooky DIY sign that adds a touch of vintage decor to our Halloween celebrations.
The rustic charm of the old window frame paired with the eerie cobwebs will set the tone for a howling good time!
Faux Blood Dripping Letters
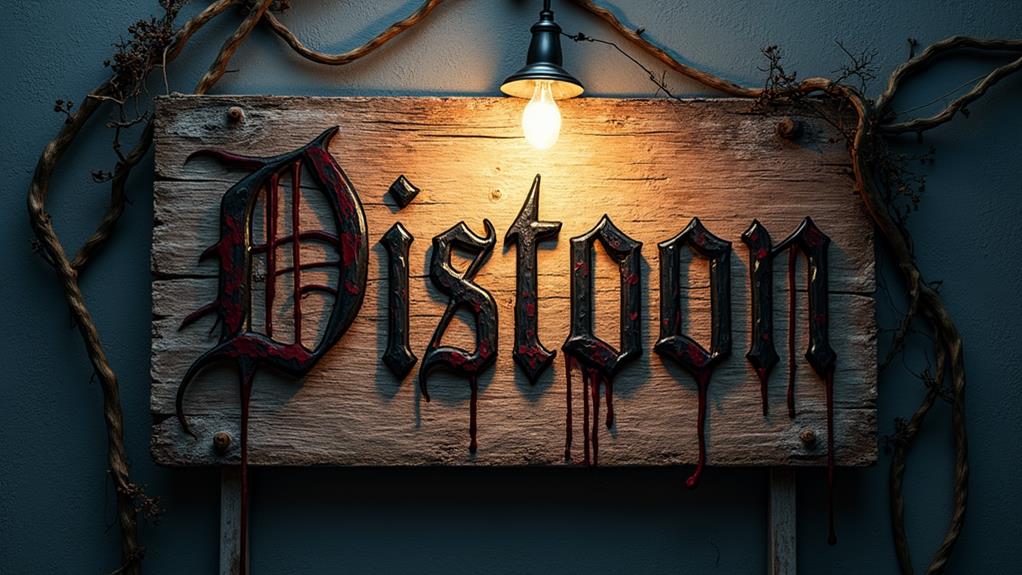
We're taking our Halloween sign game to the next level with a spine-tingling effect that's sure to make our guests shiver: faux blood dripping letters.
To create this eerie effect, we'll start by painting our sign's background with a dark, muted color.
Next, we'll use a paint pen or a marker to write out our spooky message in bold, creepy typography.
Now, it's time to add the blood splatter.
We'll mix water and red paint to create a drippy, blood-like consistency.
Using a small brush, we'll splatter the mixture onto our sign, making sure to get it on the letters and around the edges.
To add an extra level of realism, we can use a toothpick to create tiny droplets that look like they're about to fall off the sign.
Pumpkin-Shaped LED Marquee
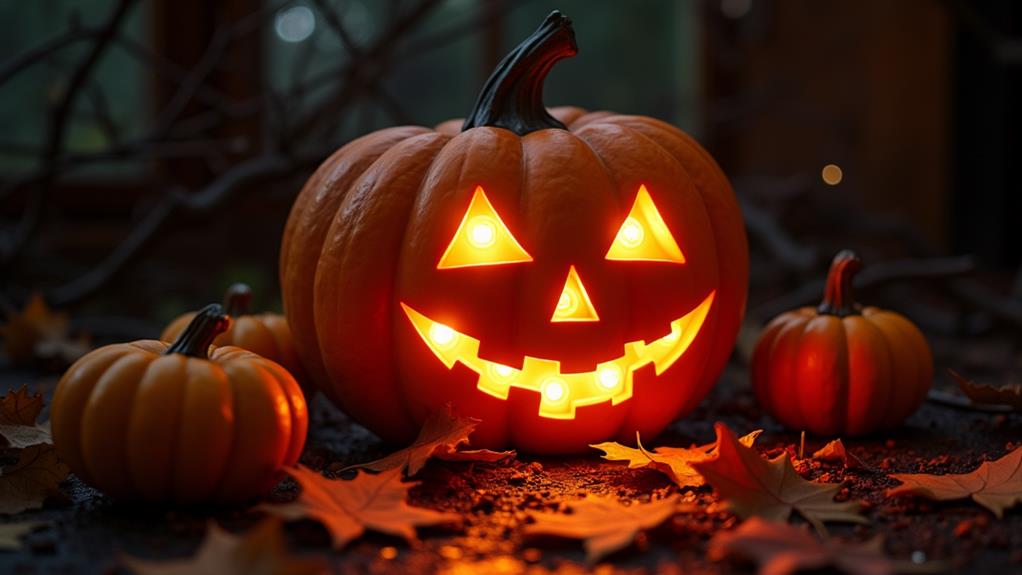
Several eerie evenings ago, we conjured up a spellbinding Pumpkin-Shaped LED Marquee that's sure to cast a spell on our Halloween guests.
This DIY project is a game-changer in the world of pumpkin decor trends, adding a modern twist to traditional Halloween decorations.
To create this mesmerizing marquee, you'll need:
- Pumpkin-shaped wooden board: Cut out a pumpkin shape from a wooden board to serve as the base of your marquee.
- LED strip lights: Choose orange and yellow LED strip lights to create a warm, eerie glow.
- Black paint and a paintbrush: Paint the pumpkin shape black to create a spooky contrast with the LED lights.
- Power source and a timer: Connect the LED lights to a power source and a timer to control the lighting effects.
Flickering Candlelit Grave Stones
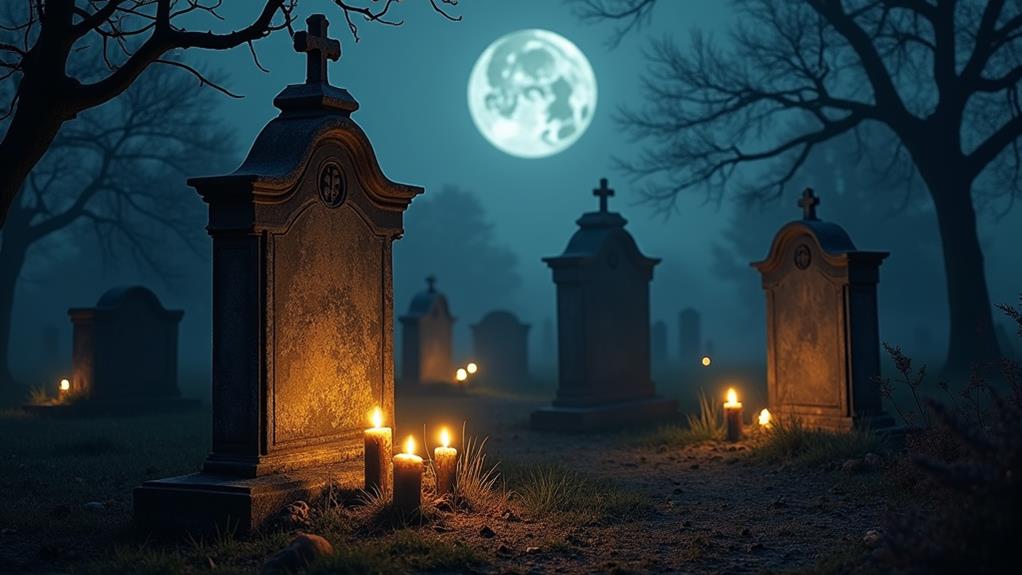
Conjure up a spooky ambiance with our Flickering Candlelit Grave Stones, a DIY project that will transport your guests to a haunted graveyard.
With just a few simple materials, we'll create an eerie atmosphere that'll set the mood for a howling good time.
Gather cardboard or foam board, grey paint, a hot glue gun, and some tea lights or votive candles.
Cut out rectangular shapes to resemble grave stones, then paint them a weathered grey.
Add some creepy details like "RIP" or a spider web design using a paint pen or marker.
Once dry, hot glue the candles to the top of each stone, making sure they're secure.
Place the grave stones around your porch or yard, and light the candles as the sun sets.
The flickering flames will cast an eerie glow, creating a spooky ambiance that'll make your guests shiver.
The creepy lighting will add an extra layer of terror, making it feel like your guests are wandering through a haunted cemetery.
With our Flickering Candlelit Grave Stones, you'll create a hauntingly beautiful display that'll be the talk of the town.
Mummy Wrapped Candle Holders
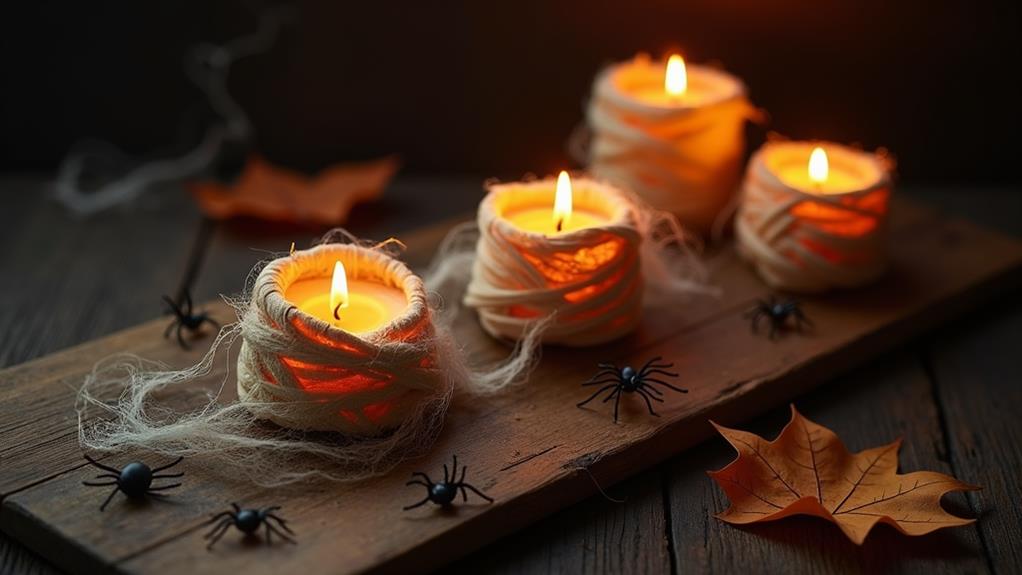
As we plunge into the domain of DIY Halloween decorations, one project that's sure to wrap up the competition is our Mummy Wrapped Candle Holders.
Drawing inspiration from ancient Egyptian tombs, we'll create a spooky yet elegant centerpiece that'll cast a spell on your guests.
To start, gather these essential materials:
- White candles: The cylindrical shape will resemble mummy sarcophagi.
- Gauze or toilet paper rolls: These will become the wrapping material for our mummy decor.
- Scissors: For cutting the gauze into strips.
- Glue or tape: To secure the wrapping in place.
Begin by wrapping the candle with gauze or toilet paper rolls, overlapping the strips to create a layered, mummy-like effect.
Secure the wrapping with glue or tape.
You can add a few strategically placed "bandages" to create a more realistic look.
Place the mummy-wrapped candle holders on a table or mantle, and watch as they cast an eerie glow.
This Egyptian-inspired decor is sure to be a hit at your Halloween gathering!
Rusty Old Lantern Skull
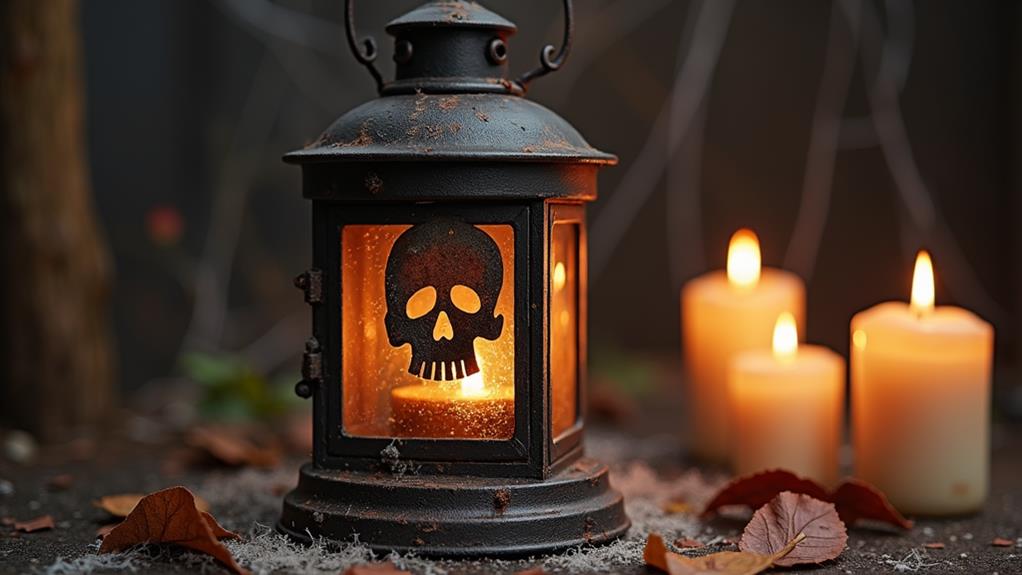
While crafting our Mummy Wrapped Candle Holders, we're reminded that a Halloween setting should be eerie, mysterious, and a tad unsettling – that's where our Rusty Old Lantern Skull comes in, adding a touch of macabre whimsy to our DIY decor.
We start by collecting old lanterns, or purchasing inexpensive ones from a thrift store.
A rusty, distressed look is perfect for this project, so we don't bother sanding or repainting them.
Next, we find a skull decoration – we opt for a plastic one, but you can use a paper mache or ceramic one if you prefer.
We attach the skull to the lantern using hot glue, making sure it's centered and secure.
To add a spooky ambiance, we wrap the lantern's handle with black twine or rope, and hang it from a tree branch or a porch.
For an extra touch, we place a tea light or small candle inside the lantern, casting an eerie glow on the surrounding area.
With our Rusty Old Lantern Skull, we've created a unique and unsettling centerpiece for our Halloween gathering.
This Lantern makeover is a simple yet effective way to add a touch of macabre to our DIY decor.
Candy Corn Wreath Sign
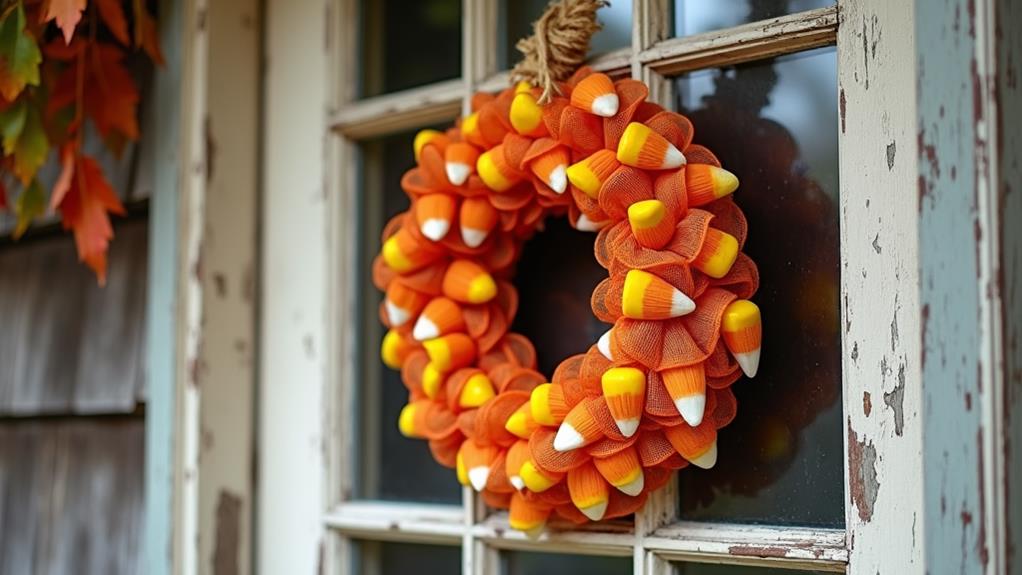
We shift our focus from the eerie ambiance of the Rusty Old Lantern Skull to a sweeter, more whimsical DIY project that's sure to delight both kids and adults alike – the Candy Corn Wreath Sign.
This colorful and festive sign is perfect for adding a pop of Fall flair to your Autumn-themed decorations.
To get started, you'll need:
- Foam wreath form: This will serve as the base of your sign. You can find them at most craft stores or online.
- Candy corn: Lots and lots of candy corn! You'll need it to cover the entire wreath form.
- Hot glue gun: This will help you attach the candy corn to the wreath form.
- Letter stickers or paint: To add your desired message, such as "Happy Halloween" or "Fall Festivities".
Once you have your materials, simply hot glue the candy corn to the wreath form, overlapping them slightly to guarantee full coverage.
Then, add your letter stickers or paint to create your message.
Hang your sign on a door, wall, or mantel, and enjoy the sweet and festive ambiance it brings to your Fall decorations!
Burlap Ghostly Figure Silhouette
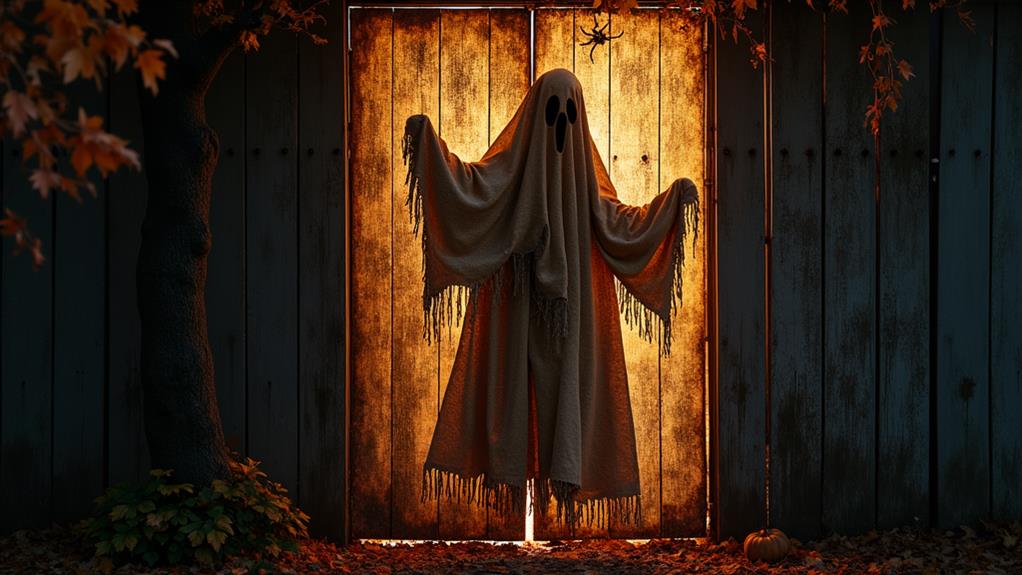
Our next DIY Halloween sign idea takes a spooky turn with the Burlap Ghostly Figure Silhouette, a hauntingly beautiful addition to our autumnal decor.
This eerie yet elegant piece is sure to cast a spell on your guests.
To create this ghostly figure, we'll start by cutting out a silhouette of a ghost from black cardstock or construction paper.
Next, we'll glue the silhouette onto a piece of burlap, allowing the coarse, natural texture to peek through and add depth to our design.
The contrast between the dark, smooth silhouette and the rough, earthy burlap will create a hauntingly beautiful visual effect.
To add an extra layer of spookiness, we can arrange some dry twigs or branches around the ghostly figure to resemble a eerie, abandoned forest scene.
Finally, we'll attach the burlap to a wooden board or canvas, and hang it in a spot where the flickering light of a candle or string lights can cast an otherworldly glow.
The result will be a Ghostly presence that's sure to send shivers down the spines of all who see it.
Conclusion
We've conjured up a hauntingly beautiful Halloween haven, and it's all thanks to these affordable DIY sign ideas! From glowing eyes on wood to mason jar lanterns with a skull face, every detail adds to the eerie ambiance. With a dash of creativity and some unconventional materials, we've transformed our home into a spooky spectacle. Now, it's your turn – get crafty, get creative, and cast a spell of terror on your trick-or-treaters!
