15 Easy DIY Halloween Costumes That’ll Cost You Less Than $15
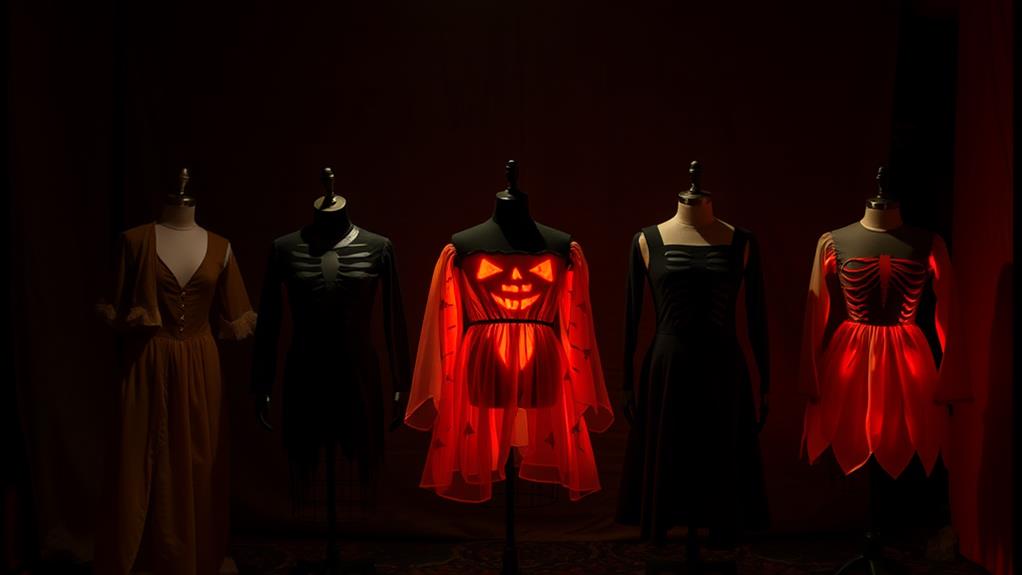
As we count down to Halloween, we're faced with the intimidating task of creating a memorable costume without breaking the bank. But what if we told you that with a dash of creativity and some everyday items, you can conjure up a show-stopping look for under $15? From eerie entities to beloved characters, we've got 15 DIY costume ideas that will make you wonder how you ever settled for store-bought. With materials like cardboard, fabric, and face paint, we'll show you how to transform into your favorite spooky sensation without sacrificing style or quality. But which one will you choose first?
Key Takeaways
- Create a ghostly apparition using a white sheet or lightweight fabric, ripping edges for a tattered look, and adding wispy fabrics for an ethereal effect.
- Transform cardboard boxes into robot suits, adding paint and recycled materials for details, and using glue to secure parts.
- Use face paint and makeup to create a DIY vampire look, adding fangs made from dental plastic or thermoplastic sheets.
- Turn thrift store finds into costumes, such as a wedding dress for a vampire bride, adding fangs and a makeshift cape.
- Get creative with household items, like tin foil for a knight's helmet, or fabric paint for a skeleton costume.
Ghostly Apparition for Pennies
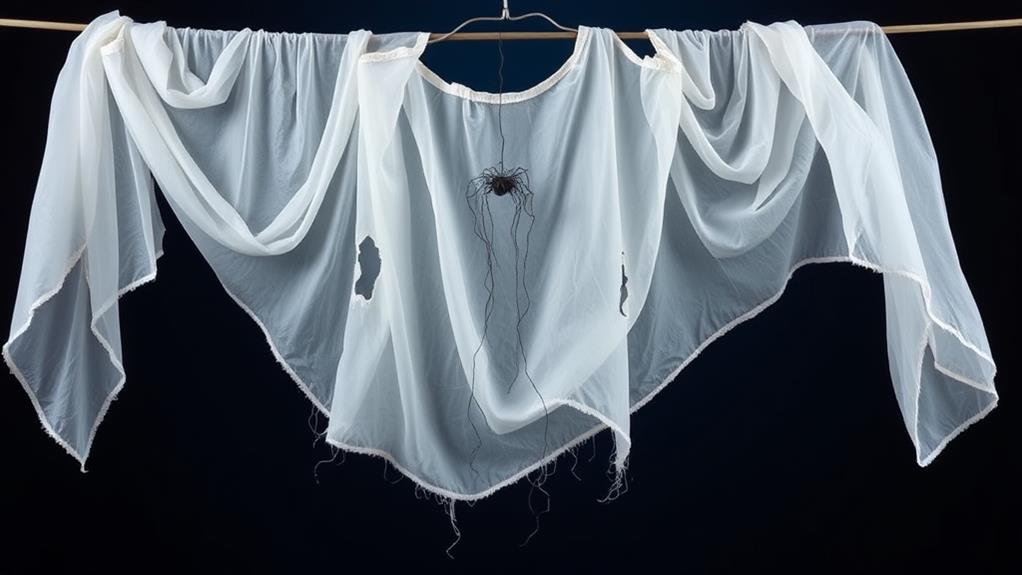
Since we're on a tight budget, we'll create a ghostly apparition that's eerily effective without breaking the bank.
To achieve this spooky look, we'll focus on Spooky Silhouettes and Ethereal Effects that won't drain our wallets.
First, gather a white sheet or a lightweight fabric, and cut out eye holes to create a simple yet effective mask.
You can also use a white t-shirt or a white hoodie as an alternative.
For a more dramatic effect, we'll create a flowing, tattered look by ripping the edges of the fabric or using scissors to create a frayed hem.
Next, add some Ethereal Effects by attaching lightweight, wispy fabrics like tulle or netting to the arms and legs of the costume.
You can use safety pins, hot glue, or even just tie the fabric on with string.
This will create a haunting, otherworldly aura around the ghostly figure.
To enhance the Spooky Silhouettes, use black cardboard or construction paper to create a silhouette of a tree, a gravestone, or a spooky shape.
Attach it to the back of the costume using glue or tape, and you'll have a ghostly apparition that's sure to send chills down people's spines.
With these simple steps, we've created a hauntingly beautiful costume that's both budget-friendly and eerily effective.
Cardboard Box Robot Suit
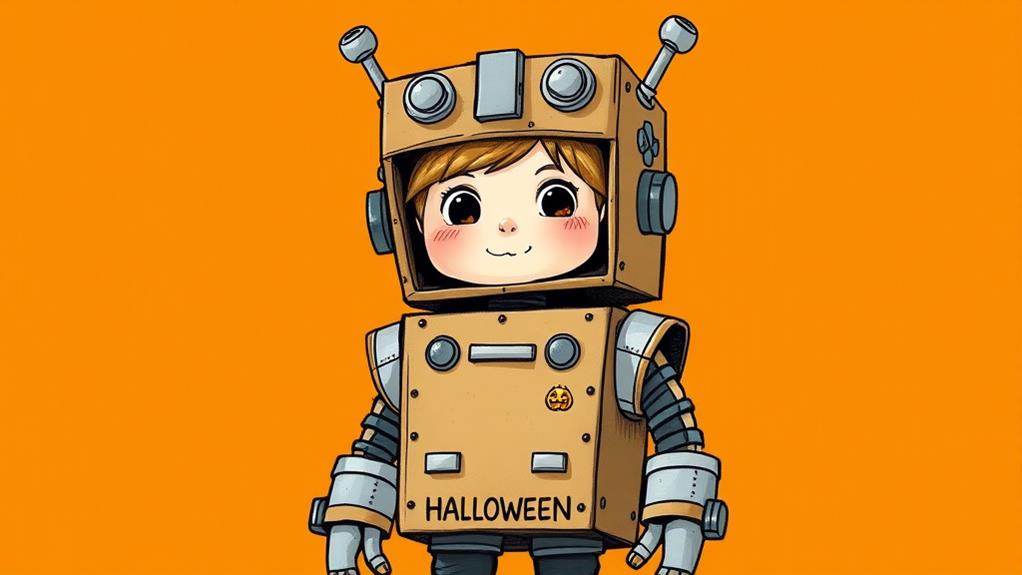
We're transforming humble cardboard boxes into a robot suit that's both functional and futuristic. All you need is a large cardboard box, scissors, glue, paint, and some creativity.
Start by cutting out holes for your head and arms, making sure they're big enough for you to fit comfortably inside.
Next, cut out robot parts from additional cardboard sheets, such as shoulder pads, a chest plate, and a helmet.
You can also add details like buttons, vents, or screens using paint, markers, or even recycled materials like bottle caps or cardboard tubes. Get creative with your design – the more intricate, the better!
Once you have all your robot parts, glue them onto the main box, making sure they're secure and evenly spaced.
You can also add some velcro or elastic to make it easier to put on and take off. Finally, paint the entire suit with metallic colors like silver, gray, or copper to give it a futuristic look.
To complete the look, add some cardboard crafting details like rivets, bolts, or wires.
You can also add some glow-in-the-dark paint or stickers to give your robot suit an extra edge. With these simple steps, you'll be ready to roll out in your cardboard box robot suit, impressing friends and family with your creativity and resourcefulness.
And the best part? It'll cost you less than $15!
Mummy on a Shoestring
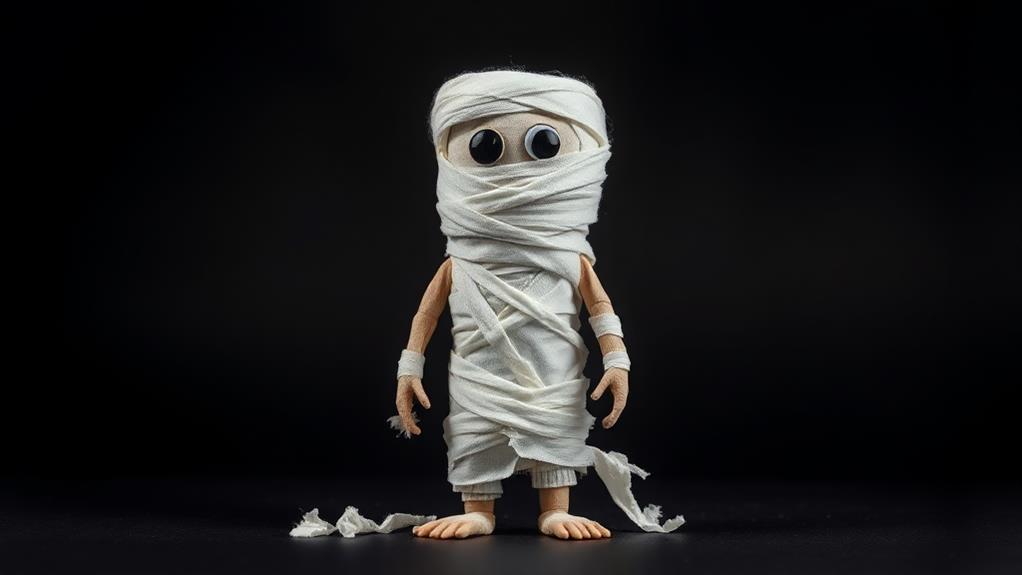
Now that we've transformed cardboard boxes into a futuristic robot suit, let's unwrap another budget-friendly DIY Halloween costume idea – the Mummy on a Shoestring.
This spooky yet stylish costume is inspired by Ancient Egyptian traditions, and we'll show you how to create it without breaking the bank.
First, gather your materials: a roll of gauze or toilet paper, scissors, glue, and some old clothes to wear underneath.
You can also use an old white sheet or a large piece of fabric to create the mummy's wrapping. For a more authentic look, use a beige or off-white fabric to resemble the ancient wrappings.
To begin wrapping, start at the feet and work your way up.
Use the gauze or toilet paper to create layers of wrapping, overlapping each layer to achieve a mummy-like effect.
Secure each layer with glue or tape.
For the arms and legs, use a Mummy wrapping technique called "accidental wrapping," where you wrap the fabric in a crisscross pattern to create a more textured look.
To add some Ancient Egyptian flair, use a gold or bronze marker to draw hieroglyphics on the wrapping.
You can also add some fake jewelry or accessories to give your mummy a more regal look.
With these simple steps, you'll be unwrapping the perfect Mummy on a Shoestring costume in no time – all for under $15!
DIY Vampire Fangs Galore
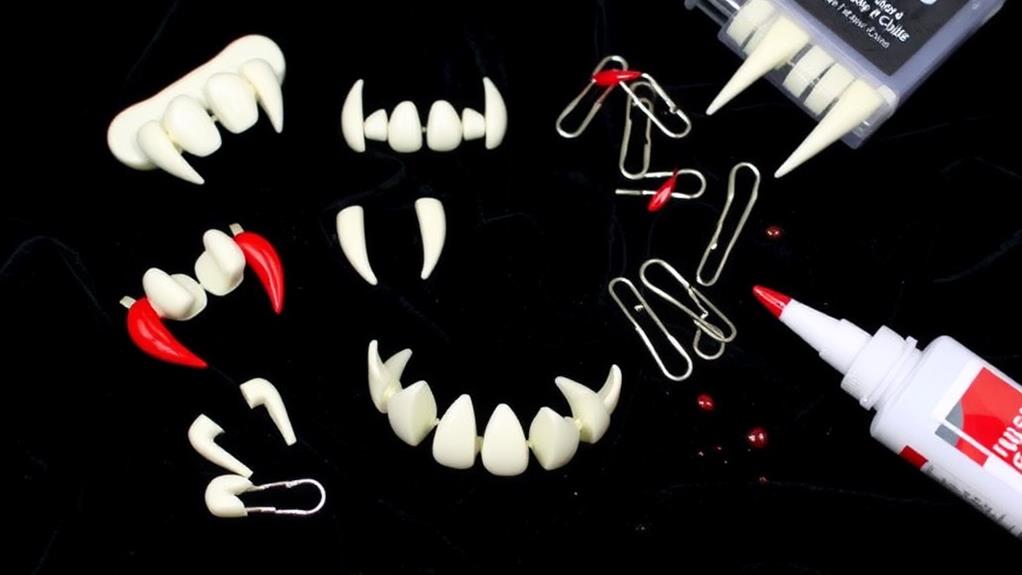
Our DIY Halloween costume series wouldn't be complete without sinking our teeth into some fang-tastic vampire fangs – and we're about to show you how to create them without breaking the bank!
According to vampire lore, fangs are a vital part of the vampire's anatomy, and a good fang design can make or break your costume.
To create your DIY vampire fangs, you'll need the following materials: dental plastic or thermoplastic sheets, a heat source (like a hairdryer), scissors, and some dental adhesive.
You can find these supplies at your local craft store or online.
First, cut out the fang shapes from the dental plastic or thermoplastic sheets.
You can use a template or draw the shapes freehand.
Make sure they're not too big or too small for your teeth.
Next, heat the fangs using a hairdryer until they're pliable.
Then, shape them to fit your teeth by molding them with your fingers or a dental tool.
Once they've cooled down, use the dental adhesive to attach the fangs to your teeth.
You can also use a bit of dental wax to secure them in place.
And that's it!
Your DIY vampire fangs are ready to sink into some Halloween fun.
With these easy steps, you'll be flashing your fangs in no time – all for under $15!
Last-Minute Zombie Look
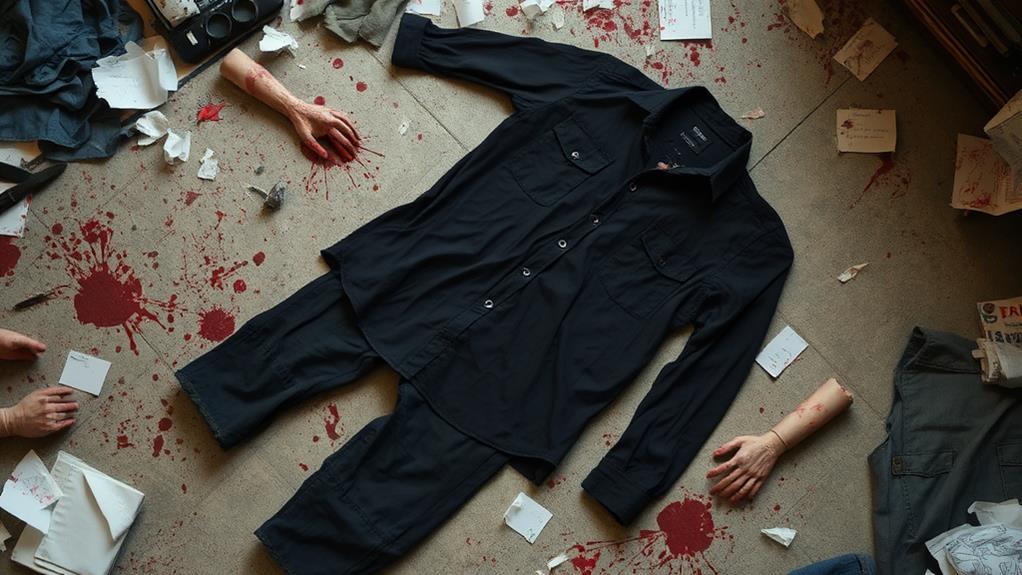
A few days before Halloween, you're still scrambling for a costume idea – no problem!
We've got a last-minute zombie look that's easy on the wallet and won't take up too much of your time.
First, gather some old clothes that you don't mind getting dirty or ripping.
Rip them up, and then use some fake blood (you can make your own by mixing water and food coloring) to create flesh wounds.
Use a sponge or a brush to apply the blood to your clothes and skin for a gruesome effect.
Next, create some bloody fingers by painting your nails red and adding some fake blood to your fingers.
You can also use some liquid latex to create wounds on your skin.
Apply some pale makeup to your face and add some dark circles under your eyes to give yourself a undead look.
To add some extra details, use some torn fabric or gauze to create bandages and wrap them around your arms and legs.
You can also use some fake blood to create a "wound" on your forehead or cheek.
Creepy Clown on a Budget

We're getting down to the wire, and you still need a Halloween costume – but don't freak out!
We've got a creepy clown costume that'll send chills down people's spines without breaking the bank. With just a few simple items, you'll be the star of the haunted circus.
First, grab a bright orange or red wig from the thrift store or your grandma's closet. If you can't find one, dye a white wig with food coloring.
Next, get a white face paint or makeup and paint a creepy smile on your face. You can also use dark eyeliner to create a sinister look.
Now, it's time for the outfit. Wear a brightly colored shirt and pants, preferably with stripes or polka dots. You can also use a colorful onesie if you have one.
Add a pair of oversized shoes, like clown shoes or sneakers, to complete the look.
To take it to the next level, create a creepy carnival vibe by adding some fake blood, torn fabric, or ripped fishnet stockings. You can also carry a balloon animal or a stuffed toy to add a twisted touch.
With these simple steps, you'll be the scariest clown at the party without spending a fortune. So, get creative and have fun – and don't worry, we won't tell anyone you threw this together at the last minute!
Recycled Bottle Witch Hat
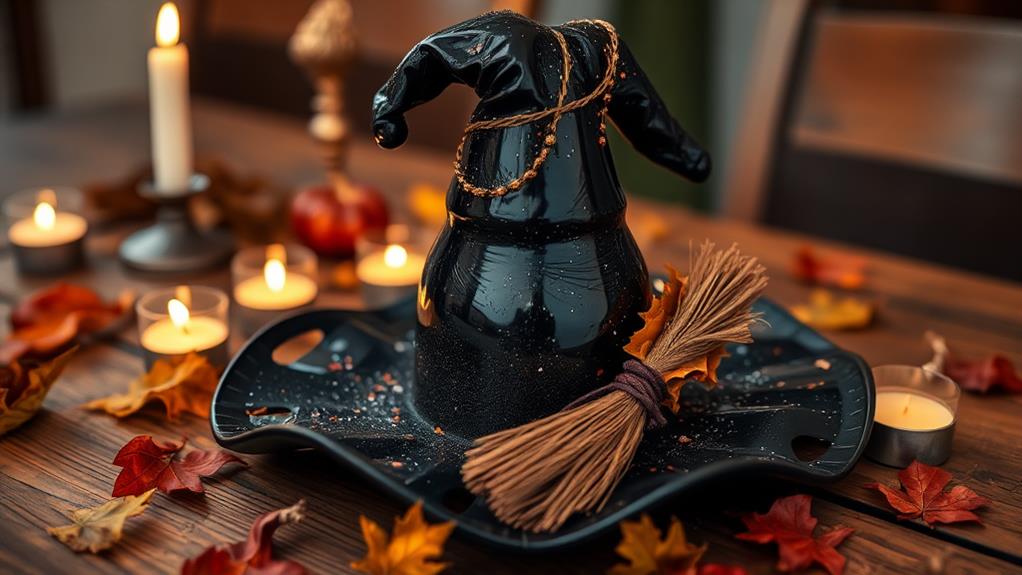
Behind the witch's spellbinding powers lies a cleverly crafted hat, and we're about to brew up a magical one using recycled materials.
With a few simple steps, you'll be conjuring up a witchy accessory that'll cast a spell on your friends and family.
First, gather your materials: an empty plastic bottle, black paint, glue, scissors, and some black fabric or felt.
Clean and dry the bottle, then paint it black. Let it dry completely before moving on to the next step.
Cut out a brim from the black fabric or felt, making sure it's slightly larger than the bottle's circumference.
Glue the brim to the bottle, overlapping the edges to secure it in place.
Now, cut out a conical shape from the remaining fabric or felt to create the hat's peak.
Glue it to the top of the bottle, making sure it's centered.
To add a touch of magic, embellish your hat with Witchy Accessories like a fake spider, a miniature broom, or a few artificial flowers.
You can also get creative with Bottle Crafts by adding some twine or yarn around the brim or peak.
With your Recycled Bottle Witch Hat ready, all you need is a black dress and a broomstick to complete the look.
This DIY costume isn't only budget-friendly but also environmentally friendly.
Toga Party in a Flash

This Halloween, transform into an ancient Greek god or goddess with a toga that's easier to whip up than a lightning bolt.
We're talking toga fashion on a budget, and we're not sacrificing style for affordability. With just a few simple materials, you'll be the life of the party, channeling your inner Zeus or Athena.
First, grab a bed sheet or a large piece of white fabric. Yes, you read that right – a bed sheet! If you want to get fancy, you can use a gold or cream-colored sheet to give your toga an extra touch of ancient Greek flair.
Next, safety pin the fabric at your shoulder, leaving enough room for your arm to slide through. You can also use a gold or brown belt to cinch the fabric at your waist.
To add some Greek mythology charm, create a laurel wreath headband using a wire hanger, some floral tape, and a few sprigs of rosemary or eucalyptus. Simply shape the hanger into a circle, wrap the floral tape around it, and attach the herbs.
You can also carry a fake lightning bolt (made from a cardboard tube and some aluminum foil) to complete the look.
With these easy steps, you'll be ready to party like it's ancient Greece. And the best part? This DIY toga costume will set you back less than $15.
Now, go forth and channel your inner Olympian!
Punny Pizza Delivery Guy

Slip on your delivery guy attire and get ready to serve up some laughs with this pun-filled pizza delivery guy costume.
We're talking a getup that's hot off the press, or should we say, hot out of the oven.
First, grab a red or blue shirt and pants to create the base of your delivery guy outfit.
You can use clothes you already have or thrift store finds. Add a matching hat and a fake mustache to give your character some personality.
Now, it's time to bring on the pizza jokes. Create a name tag that reads "Pizza the Action" or "Dough Re Mi" to kick off the puns.
You can also add a slogan to your shirt, like "Delivery drama guaranteed" or "Saucy service with a smile."
To really drive the pizza theme home, attach cardboard or foam pizza slices to your shirt or hat.
You can also carry a fake pizza box with a label that says "Pun-za Pizza" or "Laughter is the Topping."
Don't forget to add some props, like a toy phone or a fake pizza cutter, to really sell the delivery guy persona.
With these simple steps, you'll be serving up laughs all Halloween night.
And the best part? This costume won't break the bank – it's a pizza party on a budget!
Budget-Friendly Bat Wing
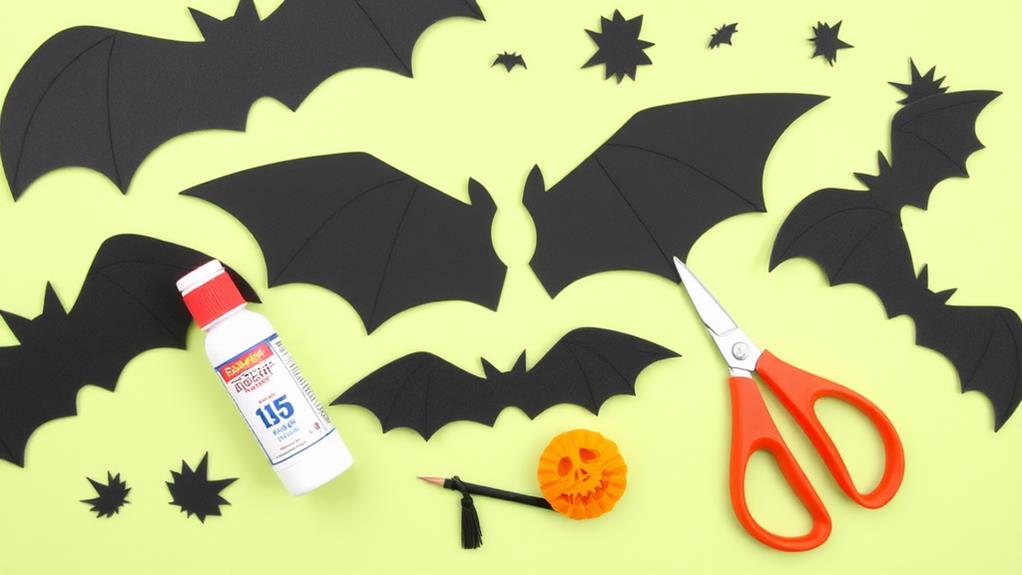
We're flying into the world of budget-friendly costumes with our next DIY project: the Bat Wing.
For a Bat fashion that's both stylish and affordable, you'll need a few simple materials.
First, grab a black umbrella. Yes, you read that right! An umbrella will serve as the base of your Bat Wing.
Next, cut out a wing shape from black cardboard or foam. You can find templates online or create your own using a stencil. Attach the wing shape to the umbrella using hot glue or strong tape. Make sure it's secure and evenly spaced.
Now, add some Wing accessories to give your Bat Wing a more dramatic flair.
Use black fabric paint or markers to draw veins on the wing. You can also add some black lace or netting to create a more textured look.
Finally, attach some black elastic or Velcro to the umbrella handle so you can wear it comfortably on your arm.
With these easy steps, you'll be flying high in no time!
Pair your Bat Wing with a black shirt, pants, and a Batman mask, and you'll be the coolest cat in Gotham City.
The best part? This DIY project will only set you back about $10, leaving you with enough cash to grab a few Halloween treats.
Simple Skeleton Costume

Getting ready for a spook-tacular Halloween night means having a killer costume, and we've got just the thing – a Simple Skeleton Costume that's easy on the wallet and big on impact.
To start, grab a black shirt and pants, which will serve as the base of our Skeleton Costume.
You can use clothes you already have or pick some up at a thrift store for a few bucks.
Next, we'll focus on creating the bone structure.
You can use white fabric paint or markers to draw on bones directly onto the clothes.
Start with the ribcage, then add the arms, legs, and spine.
Don't worry too much about perfection – the imperfections will add to the spooky vibe.
Now, let's talk Skeleton makeup.
You can use white face paint to create a base, then add black paint or eyeliner to draw on the skeleton details.
Start with the eye sockets, then add the nose, mouth, and any other details you like.
You can also use fake teeth or fangs to add an extra scare factor.
Thrifty Tin Foil Knight
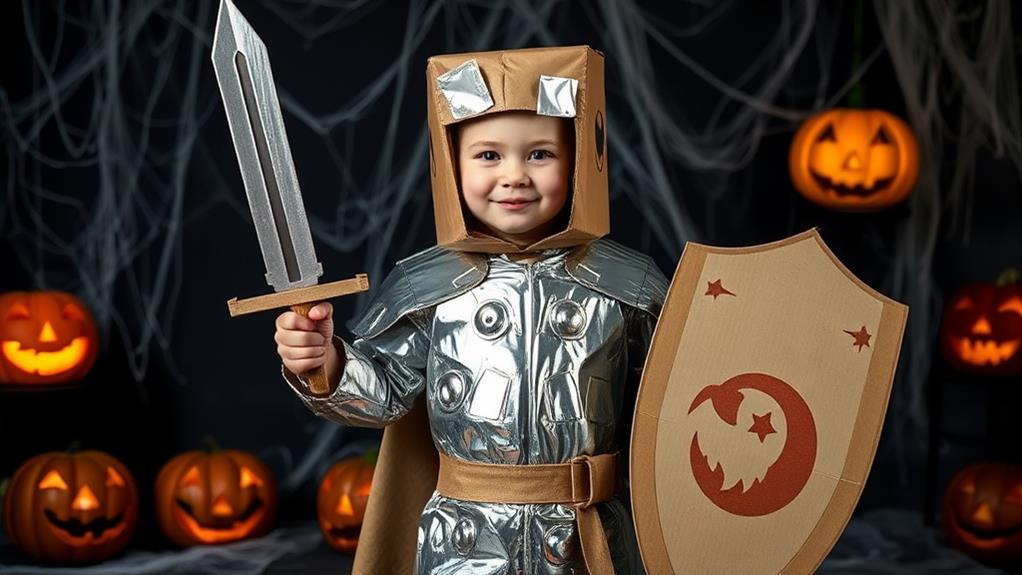
After conjuring up a spooky skeleton, let's shine some light on a more radiant character – the Thrifty Tin Foil Knight. This DIY costume is a perfect way to add some shine to your Halloween without breaking the bank.
We'll show you how to create a knightly getup using tin foil fashion and some clever accessories.
First, gather your materials: a roll of tin foil, a cardboard box, scissors, glue, and some string or tape.
Cut out a helmet shape from the cardboard box and cover it with tin foil, molding it to fit your head. Secure it with glue and string.
Next, create a breastplate by cutting out a rectangle from the cardboard box and covering it with tin foil. Add some decorative details like a cross or a crest using glue and foil.
Now, let's talk Knightly accessories.
Use tin foil to create a sword by wrapping it around a cardboard tube or a wooden dowel. Add a handle made from a piece of cardboard or foam.
You can also create a shield by gluing a piece of cardboard to a tin foil-covered circle. Add some straps made from string or tape, and you're ready to defend the kingdom.
Quick and Quirky Frankenstein
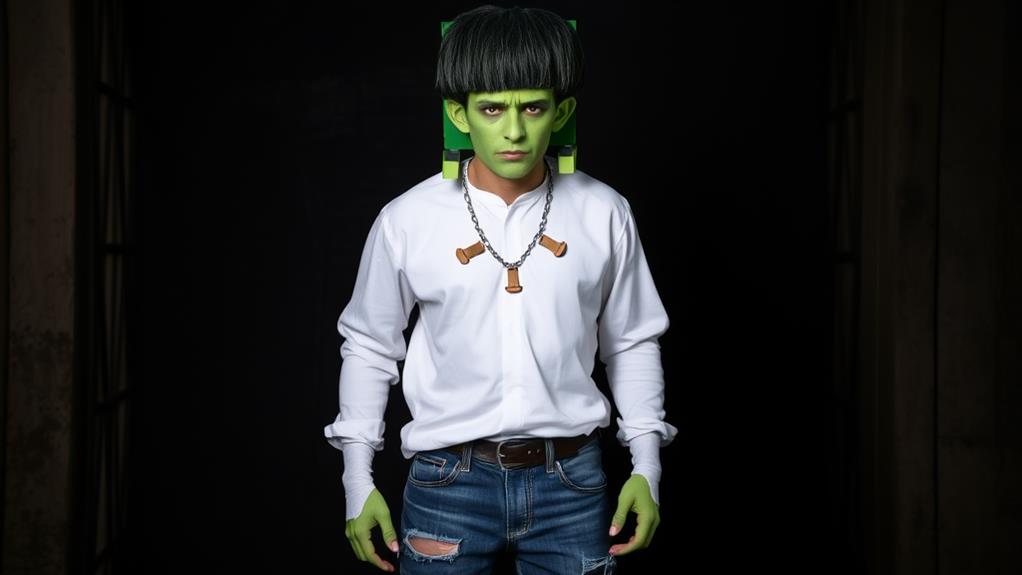
Bring out the bolts and get ready to reanimate a Halloween classic – our Quick and Quirky Frankenstein costume is a monstrous makeover on a budget.
We're talking Frankenstein fashion without breaking the bank! For this DIY delight, you'll need a few simple supplies: a large, plain shirt and pants (think thrift store finds), some fabric paint, scissors, and a hot glue gun.
First, let's create the monster's iconic flat-top haircut.
Cut a rectangle from cardboard or foam and paint it black. Attach it to a headband or a hair tie using hot glue.
Next, use fabric paint to add some stitches and scars to your shirt and pants. You can also add some fake blood for an extra spooky effect.
To give our Frankenstein some monster mash appeal, we'll add some bolts to his neck.
Cut two small squares from cardboard or foam and paint them silver. Attach them to the collar of your shirt using hot glue.
Finally, add some chunky boots and a few fake chains to complete the look.
With these easy steps, you'll be ready to shuffle your way into the monster mash in no time.
And the best part? This DIY costume will only set you back around $10 – a monstrous makeover on a miniature budget!
Spooky Spider Web Dress
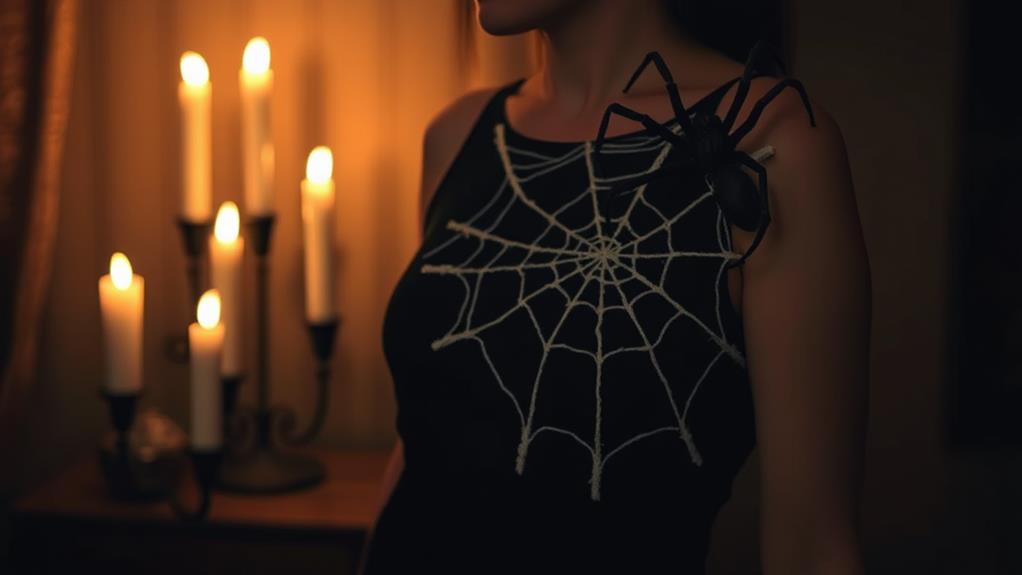
We're spinning a web of creativity with our Spooky Spider Web Dress, a hauntingly chic DIY costume that's sure to catch some attention.
This costume is all about web design, and we're not talking about coding – think intricate patterns and eerie atmosphere.
To create this Spider Fashion masterpiece, you'll need a black dress (thrift stores are your friend!), white fabric paint, a paintbrush, and some black lace or tulle.
Start by designing your web pattern on paper.
You can draw inspiration from real spider webs or get creative and come up with your own unique design.
Once you're happy with your pattern, use the fabric paint to bring it to life on your dress.
You can freehand it or use stencils to get those perfect web shapes.
While the paint is drying, cut out some spider web-inspired shapes from the black lace or tulle.
You can use these to create a dramatic collar or attach them to the hem of your dress for a spooky effect.
Finally, slip on your Spooky Spider Web Dress and get ready to ensnare some attention at your next Halloween party.
The best part? This costume will only set you back around $10, leaving you with plenty of cash to splurge on some fake spiders to complete the look.
Cheap Chic Vampire Bride

As we swap our spider webs for fangs and capes, we're transforming into a Cheap Chic Vampire Bride, a DIY costume that's sure to sink its teeth into the Halloween scene.
This costume is a must-have for anyone with a blood thirst for the dramatic and eternal love for all things spooky.
First, we'll start with the basics. A flowing white wedding dress is a must-have for any vampire bride.
You can find one at your local thrift store for under $10. Next, we'll add some fangs, which can be purchased at any costume store for around $5.
To give our vampire bride a more eerie look, we'll add some dark eye makeup and pale skin tone.
Now, it's time to add the cape. You can use a black piece of fabric or a black t-shirt to create a makeshift cape.
Simply safety pin it to the back of the dress and you're good to go. To complete the look, add some fake blood to your lips and cheeks to give your vampire bride a bloodthirsty appearance.
The final touch is the bouquet. Instead of traditional flowers, we'll use some fake blood-stained roses to add an eerie touch to the costume.
With these simple steps, you'll be the most talked-about vampire bride at any Halloween party. And the best part? This costume will only set you back around $12.
Conclusion
With these 15 easy DIY Halloween costumes, you can create a spook-tacular look without breaking the bank. From ghostly apparitions to vampire brides, we've shown you how to transform into your favorite character or creature using items like cardboard, fabric, face paint, and miscellaneous accessories. Now, get creative, get crafty, and get ready to impress your friends with your budget-friendly Halloween costume!


