15 Best DIY Christmas Decor Ideas To Recreate for the Holidays
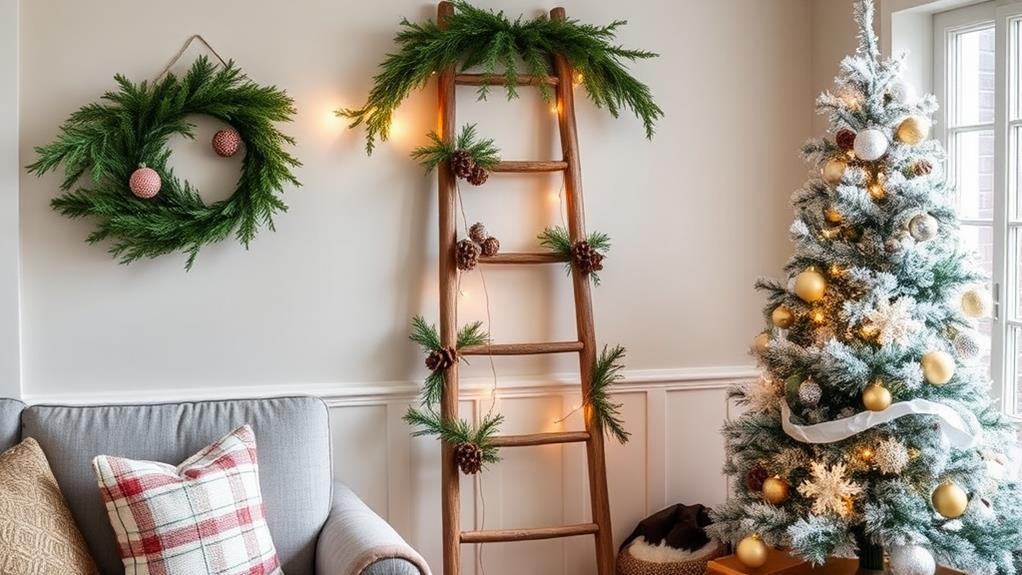
This holiday season, you're likely looking for ways to add some festive flair to your home without breaking the bank. You're in luck! With a little creativity and some everyday materials, you can create a winter wonderland that's uniquely yours. From rustic garlands to whimsical snow globes, there are countless DIY Christmas decor ideas waiting to be explored. But where do you start? With so many options to choose from, it can be overwhelming. That's why we've rounded up the 15 best DIY Christmas decor ideas to get you started – and we're about to share them with you.
Key Takeaways
- Create a rustic pinecone garland by threading spray-painted pinecones with wire or twine, adding eucalyptus leaves or cinnamon sticks for texture.
- Make a snowflake paper plate garland by cutting out intricate patterns, decorating with glitter or stickers, and stringing them together.
- Use yarn to create a colorful ball garland by wrapping yarn around Styrofoam balls and adding embellishments like glitter or beads.
- Upcycle old materials like CDs, window frames, and bottle brushes to create unique and eco-friendly Christmas decorations.
- Add a personal touch to your decorations by customizing them with different materials, colors, and embellishments to fit your personal style.
Rustic Pinecone Garland Decor
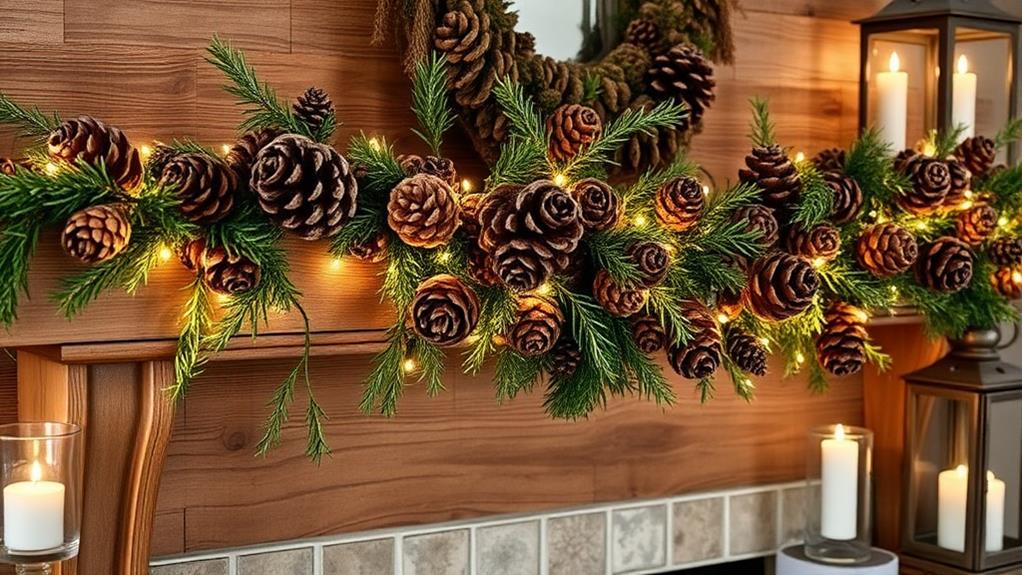
Transform your mantel or staircase into a winter wonderland with a rustic pinecone garland that exudes cozy charm.
You'll fall in love with the warm, inviting ambiance it creates in your home. To get started, collect an assortment of pinecone variations in different shapes and sizes.
You can use them as is or spray paint them white or gold for a more uniform look.
Next, gather your materials: wire or twine, scissors, and any embellishments you like, such as ribbons, bows, or dried flowers.
Begin by threading a pinecone onto the wire or twine, leaving a small space between each one.
As you work, experiment with different rustic textures by incorporating other natural elements, like eucalyptus leaves, dried berries, or cinnamon sticks.
To add some visual interest, try grouping smaller pinecones together or alternating between large and small ones.
You can also weave in some evergreen branches or holly for a pop of color.
Once you've achieved the desired length, secure the ends with wire or a bow.
Hang your garland along your mantel, staircase, or even across a window to create a festive focal point.
As the lights twinkle and the pinecones rustle, you'll feel like you're surrounded by the magic of the season.
With this rustic pinecone garland, you'll be well on your way to creating a warm and welcoming holiday atmosphere that's sure to impress your friends and family.
Merry Mason Jar Snow Globes
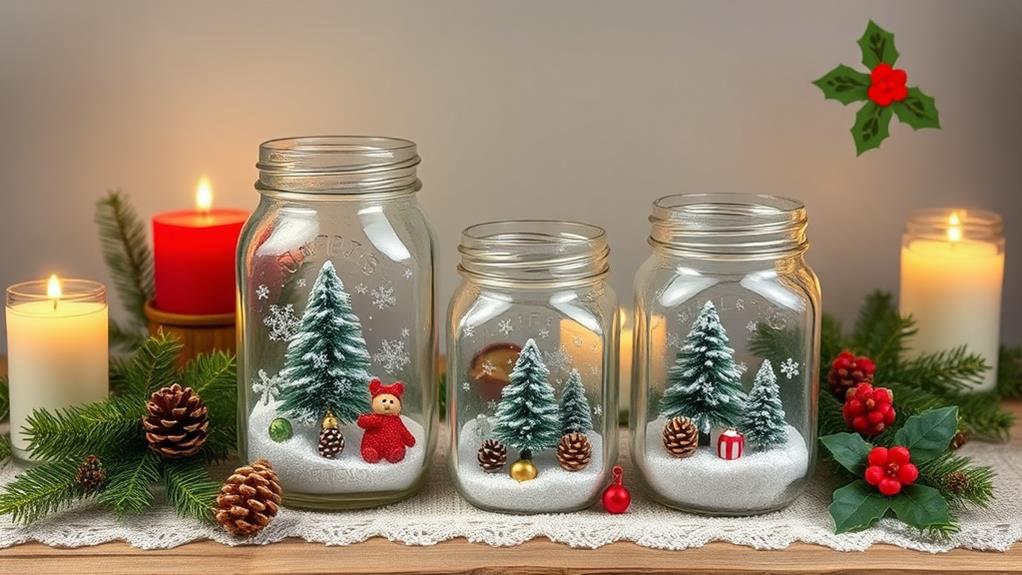
Creating a winter wonderland in a jar is as easy as gathering a few simple materials and letting your creativity shine.
For this DIY project, you'll need a mason jar, water, glitter, small Christmas figurines, and a hot glue gun.
Start by hot gluing the figurines to the inside of the lid, creating a festive scene. You can use tiny snowmen, trees, or even reindeer to create a fun and playful atmosphere.
Next, fill the jar with water, leaving about an inch at the top.
Add a few pinches of glitter to give your winter wonderland a sparkly touch. You can also add a few drops of blue food coloring to give the water a frosty effect.
Now, attach the lid to the jar, and shake it gently to create a frosted scene. As the glitter settles, you'll be left with a beautiful winter wonderland in a jar.
To add an extra touch, you can wrap the lid with twine or ribbon, and attach a small gift tag or label.
This makes for a lovely gift or centerpiece for your holiday gathering.
With these merry mason jar snow globes, you can create a whimsical and magical atmosphere in your home.
They're perfect for adding a touch of winter magic to your mantel, coffee table, or windowsill.
Vintage Window Frame Wreath

You've captured the magic of winter in a jar, now it's time to bring some vintage charm to your holiday decor.
A vintage window frame wreath is the perfect way to do just that. This unique and eye-catching piece will add a touch of nostalgia to your home's exterior or interior window decor.
Start by collecting old window frames from thrift stores, garage sales, or even your own attic.
Clean and disassemble them to create a base for your wreath. You can use wire or twine to attach evergreen branches, holly, or mistletoe to the frame, creating a lush and festive look.
Add some decorative items like pinecones, ribbons, or ornaments to give it a pop of color and texture.
To add an extra layer of vintage charm, consider distressing the window frame with some sandpaper or paint.
This will give it a worn, weathered look that's perfect for the holiday season.
You can also hang small decorations like tiny bells, snowflakes, or vintage postcards from the frame to create a whimsical and eclectic look.
Hang your vintage window frame wreath on your front door, a window, or even use it as a centerpiece for your holiday table.
It's a unique and creative way to bring some vintage charm to your holiday decor, and it's sure to be a conversation starter at your holiday gatherings.
Snowflake Paper Plate Decorations
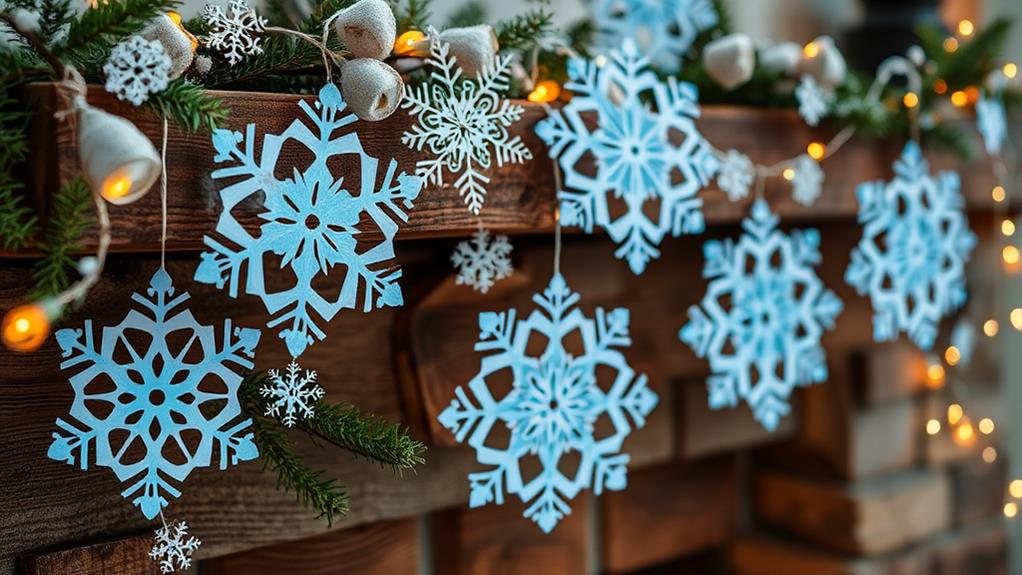
Get ready to release your inner child and add a touch of winter wonder to your holiday decor with snowflake paper plate decorations.
This whimsical DIY project is a perfect way to bring a touch of magic to your home without breaking the bank.
All you need is a few simple materials, such as paper plates, scissors, glue, and some string or twine.
Start by cutting out intricate snowflake patterns from the paper plates.
You can use a template or get creative and design your own unique shapes.
Once you've cut out your snowflakes, decorate them with glitter, stickers, or any other embellishments you like.
Then, simply string them together to create a beautiful garland that you can hang in your windows, on your walls, or along your mantel.
This paper craft project is a great way to get the whole family involved in the holiday decorating process.
Kids will love cutting out the snowflakes and adding their own personal touches, while adults will appreciate the nostalgic charm of this winter wonderland-inspired decor.
And the best part?
It's incredibly easy to make and requires minimal materials, making it a budget-friendly option for anyone looking to add some festive flair to their home.
With snowflake paper plate decorations, you'll be creating a winter wonderland that's both elegant and whimsical – and that's sure to delight both kids and adults alike.
Upcycled Bottle Brush Trees
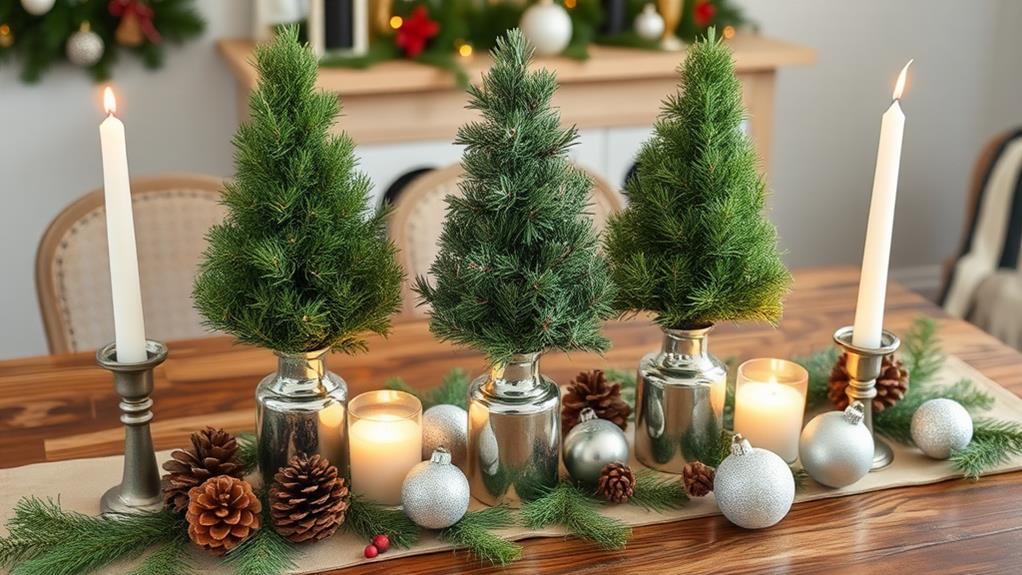
With a dash of creativity and some old bottle brushes, you can transform discarded items into a charming winter wonderland centerpiece.
The humble bottle brush, once used for cleaning, has a rich history dating back to the 18th century. Who'd have thought that these soft-bristled wonders would become a staple in DIY Christmas decor?
To create your upcycled bottle brush trees, start by collecting various-sized bottle brushes in different shapes and sizes.
You can spray paint them white or leave them in their original state for a vintage look. Next, hot glue the brushes to a Styrofoam cone or a cardboard base, starting from the bottom and working your way up.
You can also add some decorative twigs, pinecones, or beads to give your tree some extra texture and dimension.
Arrange your bottle brush trees on a mantel, side table, or windowsill to create a whimsical winter wonderland scene.
You can add some fairy lights, candles, or ornaments to complete the look. The best part? You can customize your trees to fit your personal style, from rustic to modern, and they're eco-friendly too!
Faux Snow Window Clings

Adding a touch of winter magic to your windows has never been easier, thanks to these adorable faux snow window clings.
With just a few simple materials, you can transform your windows into a winter wonderland. All you need is some white contact paper, scissors, and a template or stencil of your choice.
Cut out the snowflake design, and apply it to your windows. You'll be amazed at how easily you can create a frosted window effect that's perfect for the holiday season.
You can customize your design to fit your personal style, from delicate snowflakes to bold winter patterns.
Apply the clings to individual panes or cover the entire window for a dramatic effect. The best part? They're easy to remove without leaving any residue, so you can reuse them year after year.
These faux snow window clings are a great way to add some festive flair to your home without breaking the bank.
Plus, they're a fun and easy DIY project to do with the kids. Imagine sipping hot cocoa by the window, surrounded by the magic of a winter wonderland.
With these adorable clings, you can bring the snow inside and make your holiday season even more special.
DIY Felt Ball Ornaments

You've got your windows decked out with faux snow clings, now it's time to turn your attention to the tree.
One of the easiest and most impactful DIY ornaments you can create are felt ball ornaments.
The soft, tactile felt texture exploration adds a cozy touch to your tree, and the process is surprisingly simple.
To start, you'll need some felt sheets in various colors, a Styrofoam ball, and a hot glue gun.
Simply cut out small circles from the felt, then wrap them around the Styrofoam ball, overlapping the edges as you go.
Once you've covered the entire ball, use the hot glue gun to secure the last piece in place.
Let it dry, then fluff out any wrinkles.
The best part?
You can customize these ornaments to fit your unique style.
Use bold, bright colors for a playful look or stick to more muted tones for a rustic vibe.
You can also experiment with different sizes and shapes, from tiny balls to larger, more dramatic spheres.
When it comes to storing your DIY ornaments, invest in an ornaments organization system that keeps them safe and organized.
This will make it easy to find the perfect spot for each one on the tree.
With these felt ball ornaments, you'll have a tree that's truly one-of-a-kind – and a fun, creative activity to enjoy with friends and family.
Recycled Book Page Banners
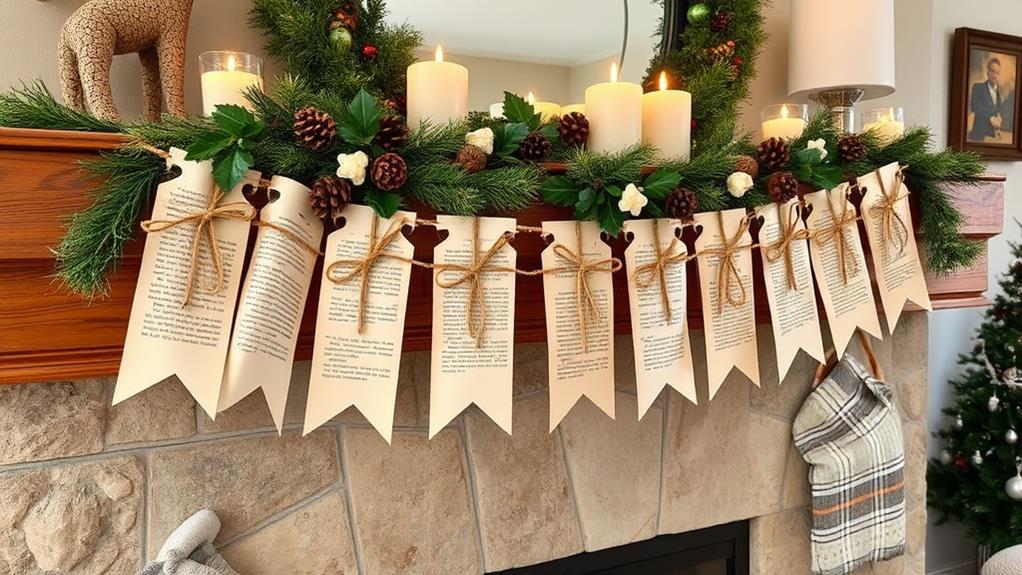
From vintage novels to forgotten textbooks, old book pages can be repurposed into a stunning holiday decoration that's both eco-friendly and visually striking.
You can transform these pages into a beautiful recycled book page banner that will add a touch of nostalgia and whimsy to your holiday decor.
To create this book art, start by selecting pages with beautiful vintage typography or illustrations that evoke a festive feel.
You can use a combination of pages with different fonts, sizes, and colors to add depth and visual interest.
Cut out the words or letters you want to use, and arrange them to spell out a holiday message or a festive phrase, such as "Joy to the World" or "Merry Christmas."
Use a string or twine to connect the pages, leaving a small gap between each one to create a sense of movement and flow.
You can also add some decorative elements, such as ribbons, bows, or glitter, to give your banner a more festive look.
Hang your banner above your mantel, staircase, or along a wall, and watch how it adds a touch of vintage charm to your holiday decor.
This DIY project isn't only eco-friendly but also a great way to upcycle old books that would otherwise end up in the landfill.
Natural Dried Flower Arrangements
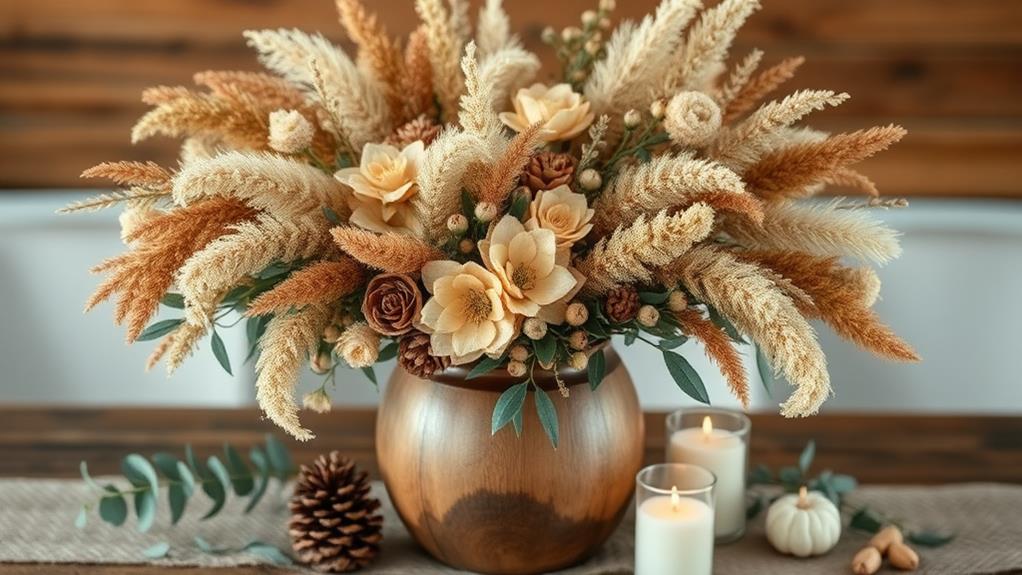
As the holiday season approaches, why not bring a touch of the outdoors into your home with a beautiful natural dried flower arrangement?
This stunning DIY project is perfect for adding a warm, rustic feel to your holiday decor.
To create your own natural dried flower arrangement, start by gathering an assortment of dried flowers, foliage, and branches.
You can use flowers like baby's breath, statice, and yarrow, or experiment with different textures like eucalyptus and ferns.
1. Choose a base: Use a vase, basket, or even a wooden box as the base for your arrangement.
You can also get creative and use a vintage window or mirror as a unique display piece.
2. Select your flowers: Opt for a mix of flowers in different shapes, sizes, and textures to add visual interest.
You can also add some greenery like eucalyptus or ferns to add depth.
3. Add some height: Use branches or twigs to add height and create a sense of movement in your arrangement.
4. Embellish with decorations: Add some festive touches like pinecones, ribbons, or ornaments to give your arrangement a holiday feel.
This beautiful arrangement isn't only a great way to add some natural charm to your holiday decor, but it's also a great way to practice your flower petal art skills.
Plus, it makes for a stunning winter bouquet that's sure to impress your friends and family.
Mini Mason Jar Vase Centerpieces
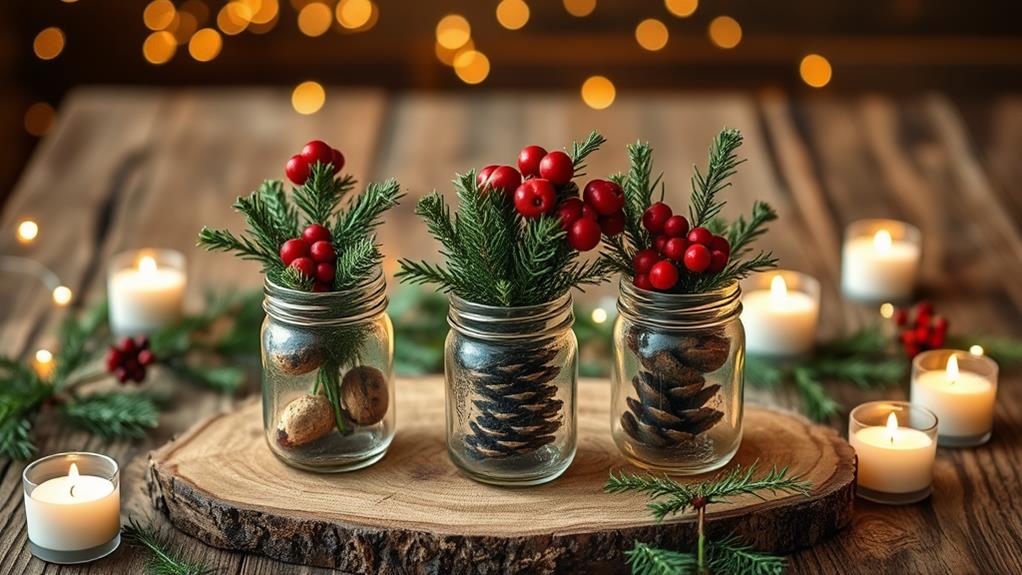
Frequently, the simplest DIY projects yield the most charming results, and mini mason jar vase centerpieces are a perfect example of this.
With just a few basic materials, you can create a beautiful and delicate winter wonderland-inspired centerpiece that will add a touch of elegance to your holiday table.
Start by gathering a few mini mason jars, some evergreen sprigs, pinecones, and winter florals like eucalyptus or baby's breath.
Fill each jar with a small amount of water and add a few sprigs of evergreen and a pinecone or two.
Then, arrange the jars in the center of your table, creating a charming jar arrangement that's both rustic and refined.
To add some extra sparkle, you can wrap a small ribbon or twine around the neck of each jar, or add a few candles or fairy lights to create a warm and cozy ambiance.
You can also customize your centerpiece by using different types of winter florals, like holly or mistletoe, or by adding some festive decorations like small ornaments or berries.
The beauty of this DIY project lies in its simplicity and versatility.
You can easily customize it to fit your personal style and the theme of your holiday gathering.
Plus, it's an easy and affordable way to add some extra festive flair to your table without breaking the bank.
Twine Wrapped Candle Decor

Several rustic yet elegant DIY projects can elevate your holiday decor, and twine wrapped candle decor is one of them.
This simple yet impactful project adds a touch of winter ambiance to your home, creating a cozy and inviting atmosphere perfect for the holiday season.
To create this rustic charm, you'll need a few basic materials, including:
- Twine or jute rope: This is the star of the show, adding a natural, earthy element to your decor.
- Candles: Choose candles in mercury glass holders or apothecary jars for an extra touch of elegance.
- Scissors: You'll need these to cut the twine to the desired length.
- Hot glue gun: This is optional, but helps secure the twine in place.
Wrap the twine around the candle, overlapping the layers to create a cohesive look.
You can also add some evergreen sprigs, pinecones, or holly berries to give it a more festive feel.
Place the candles on a mantel, coffee table, or dining table to create a warm and welcoming ambiance.
The rustic charm of the twine pairs beautifully with the soft glow of the candles, creating a winter wonderland feel in your home.
With this easy DIY project, you'll be well on your way to creating a festive and inviting holiday atmosphere.
Paper Quilled Snowflakes Art
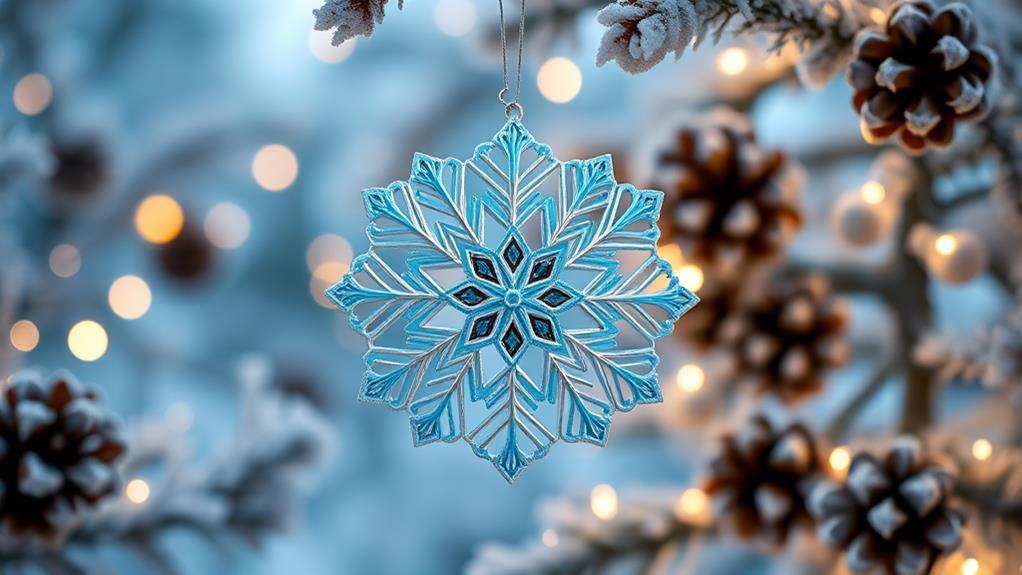
Create a winter wonderland in your home with a delicate touch of paper quilled snowflakes art, an elegant DIY project that adds a whimsical charm to your holiday decor.
With quilled masterpieces, you can create intricate snowflake patterns that adorn your windows, walls, or even gift wraps.
To get started, you'll need some basic quilling tools, such as a quilling board, quilling paper, and a slotted quilling tool.
You can find these tools online or at your local craft store.
Once you have your tools, practice rolling and shaping different quilling designs, like loose leaf scrolls, tight scrolls, or loose coils.
For snowflake patterns, you can create simple designs using loose leaf scrolls and tight scrolls.
You can also experiment with different quilling techniques, like layering or twisting, to create more intricate designs.
To add some sparkle to your snowflakes, use metallic quilling paper or add some glitter glue to your finished design.
With paper quilled snowflakes art, you can create a unique and personalized holiday decor that reflects your style and creativity.
Hang your snowflakes in a window to catch the light, or use them to decorate your mantel or staircase.
Whatever you choose, your quilled masterpieces are sure to be a hit this holiday season.
Yarn Ball Garland Tutorial

Get ready to add a pop of color and texture to your holiday decor with a yarn ball garland that's as easy to make as it's eye-catching.
With a few simple materials, you can create a unique and festive garland to adorn your mantel, staircase, or Christmas tree.
To start, you'll need some yarn, a Styrofoam ball, and a few basic crafting tools. You can choose yarns in a variety of colors and textures to create a look that's all your own.
1. Mix and match yarn color combinations to create a look that's unique to your holiday style.
Try pairing bold brights with soft pastels or rich jewel tones with metallic threads.
2. Experiment with yarn wrapping techniques to add visual interest to your garland.
Try wrapping yarn around the Styrofoam ball in a spiral pattern, or use a crisscross technique to create a more textured look.
3. Add some extra embellishments to take your garland to the next level.
You can use glitter, beads, or even small ornaments to add some extra sparkle and shine.
4. Play with the size and spacing of your yarn balls to create a look that's tailored to your holiday decor.
You can create a dense, chunky garland or a more delicate, airy look – the choice is yours!
With these simple steps, you can create a yarn ball garland that's sure to be the talk of the town this holiday season.
Repurposed CD Ornaments
You're probably guilty of tossing old CDs into the trash without a second thought, but what if you could breathe new life into them and turn them into stunning ornaments for your Christmas tree?
With a few simple materials and some creativity, you can create unique and eye-catching musical decorations that will add a personal touch to your holiday decor.
Start by gathering old CDs, some glue, scissors, and decorations like glitter, ribbons, or stickers.
You can paint the CDs with metallic or glitter paint to give them a festive look.
Once dry, cut out shapes or designs from the CDs to create intricate patterns.
You can also glue multiple CDs together to form a snowflake or flower shape.
To add some extra sparkle, sprinkle glue onto the CD and sprinkle glitter on top.
Let it dry, then shake off any excess glitter.
You can also attach a ribbon or string to the top of the CD to create a hanger.
For a more rustic look, glue a small piece of twine or burlap around the center of the CD.
These repurposed CD ornaments aren't only eco-friendly but also make for a great conversation starter at your holiday party.
Hang them on your tree, use them as gift tags, or create a musical mobile to add a touch of whimsy to your holiday decor.
With these CD craft ideas, you'll be spinning your old music into festive decorations in no time!
Wooden Slice Snowman Decor
Snow-covered trees and twinkling lights set the mood for a winter wonderland, but what about adding a touch of rustic charm to your holiday decor?
That's where the wooden slice snowman decor comes in! This adorable winter decor idea is perfect for adding a cozy feel to your Snowy Centerpieces or mantel.
To create this charming decoration, you'll need:
- Wooden slices: You can use wooden coasters or slices of a log to create the snowman's body.
- White paint: Paint the wooden slices white to give them a snowy effect.
- Twine and buttons: Use twine to create the snowman's scarf and buttons for the eyes and mouth.
- Decorative items: Add some festive holly, berries, or pinecones to give your snowman some personality.
Once you have all your materials, simply assemble your snowman by gluing the wooden slices together, adding the twine scarf and button eyes, and finishing it off with some decorative items.
You can also add some glitter or snowflake decorations to give it an extra touch of winter wonder.
This wooden slice snowman decor is a unique and rustic way to add some festive charm to your holiday decor.
Plus, it's easy to make and customize to fit your personal style!
Conclusion
You've got the skills, and now you've got the ideas – it's time to get crafty and deck those halls! With these 15 DIY Christmas decor ideas, you'll be whipping up a winter wonderland in no time. From rustic to whimsical, these projects will bring your personal style to the forefront of your holiday decor. So, grab those materials and get creative – your beautifully decorated home is just a DIY project away!


