Adorable Little Santas Made With Strawberries
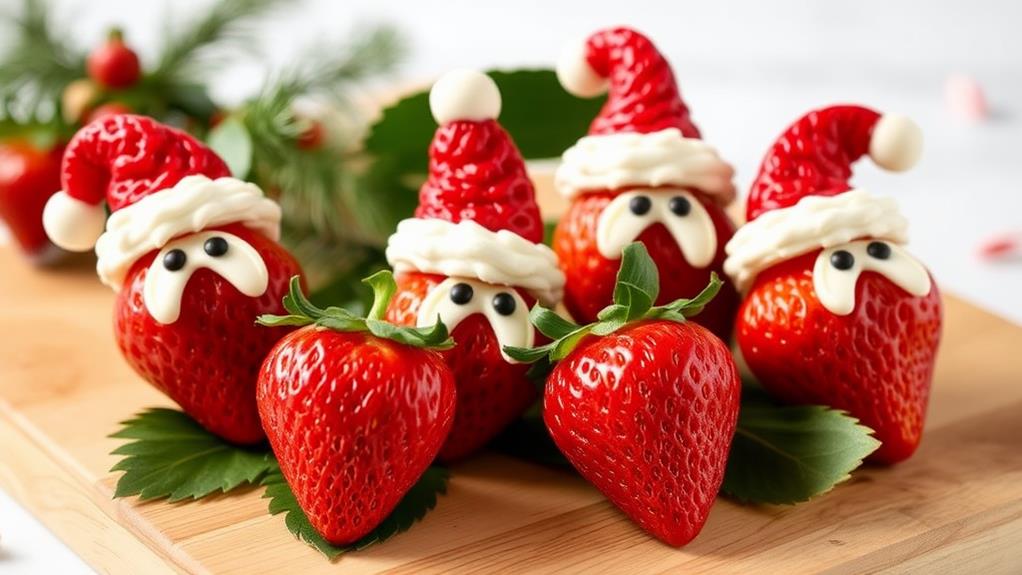
As you start planning your holiday festivities, you're likely thinking of creative ways to impress your guests. One idea that's sure to bring a smile to everyone's face is adorable little Santas made with fresh strawberries. With just a few simple ingredients and some creative assembly, you can craft a festive and delicious treat that's perfect for the season. But where do you start? From selecting the right strawberries to crafting Santa's iconic hat and beard, there are a few key steps to follow to bring these charming characters to life.
Key Takeaways
- Fresh, ripe strawberries are essential for creating adorable Santas, so choose ones that are plump, juicy, and free of bruises or blemishes.
- Shaping strawberry bodies requires gentle handling, trimming, and creative cutting to achieve desired shapes and character.
- White chocolate or shredded coconut can be used to create Santa hats with a festive trim, while red frosting or fruit leather makes the hat itself.
- Add facial details like eyes, cheeks, and beards using white frosting, whipped cream, or shredded coconut to bring the Santas to life.
- Assemble and display the strawberry Santas on a decorative platter or tiered serving dish, surrounded by festive fruits, nuts, or candies.
Gathering Essential Ingredients
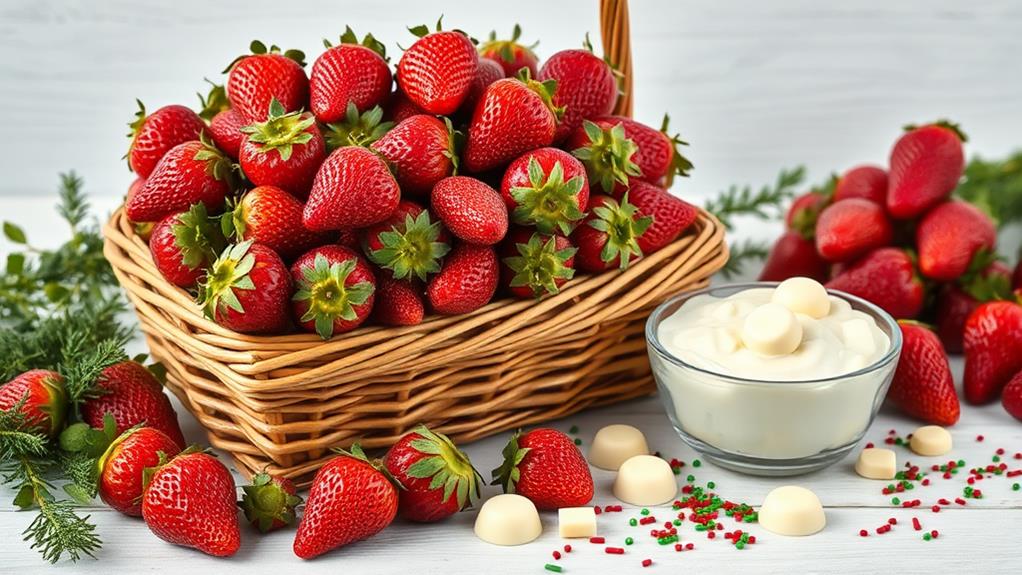
Three tiny Santas await their transformation, and it all begins with Gathering Essential Ingredients.
You're about to create an edible winter wonderland, and it starts with the perfect berry selection.
Fresh strawberries are the star of the show, so choose ones that are plump, juicy, and ripe. You'll need about six to eight strawberries for each Santa, depending on their size.
Selecting the right strawberries is vital, as they'll be the base of your adorable creations.
Look for berries with no bruises or blemishes, and avoid those that are too soft or too hard. The ideal strawberry should be firm but yield slightly to pressure.
You can also use organic strawberries for an added touch of sweetness.
In addition to fresh strawberries, you'll need some basic pantry staples like powdered sugar, white chocolate chips, and red and green frosting.
You might also want to have some toothpicks, a small knife, and a cutting board on hand.
With these essential ingredients gathered, you're ready to start crafting your merry miniatures.
Get ready to tap into your creativity and bring these festive friends to life!
Preparing Strawberry Bodies
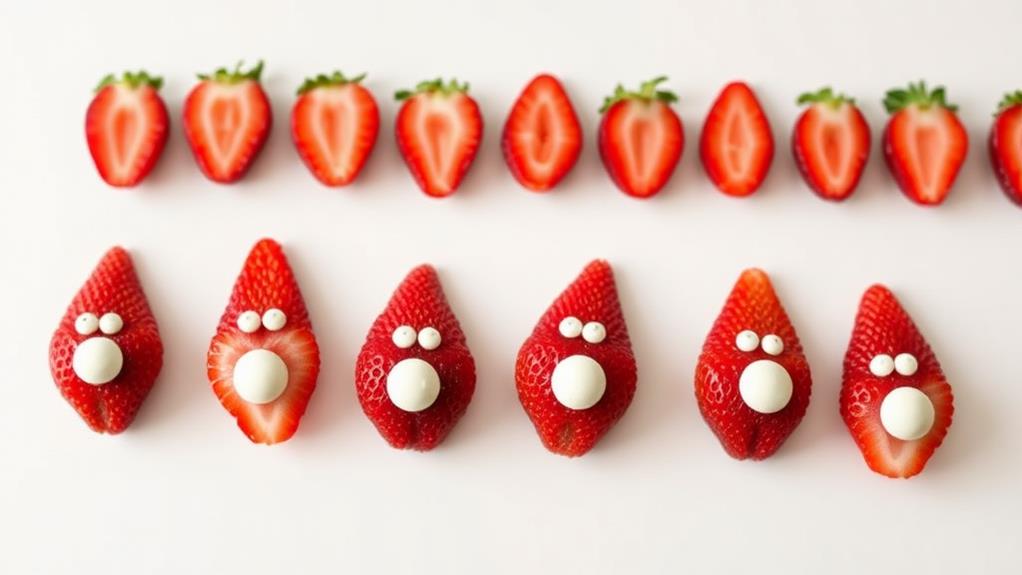
As you set out on the exciting journey of crafting these adorable Santas, having a solid foundation is vital to prepare the strawberry bodies that will bring them to life.
Fresh ideas and creativity are essential in shaping these tiny strawberries into the perfect Santa bodies. Begin by gently washing and patting the strawberries dry to remove any excess moisture.
This will guarantee that your strawberries stay firm and hold their shape throughout the decorating process.
Next, carefully examine each strawberry to identify its natural curves and contours.
You'll be surprised at how these tiny fruits can be transformed into Santa's rounded body, complete with a defined belly and shoulders.
Use a small knife or a strawberry corer to carefully trim the strawberries into desired shapes.
You can create various strawberry shapes to add character to your Santas, from plump and round to slender and elongated.
As you work on shaping your strawberries, remember to handle them gently to avoid bruising or damaging the delicate flesh.
This will help preserve their natural texture and color, which will add to the overall charm of your finished Santas.
Once you've prepared your strawberry bodies, you'll be ready to add the finishing touches that will bring these little characters to life.
Creating Santa Hats
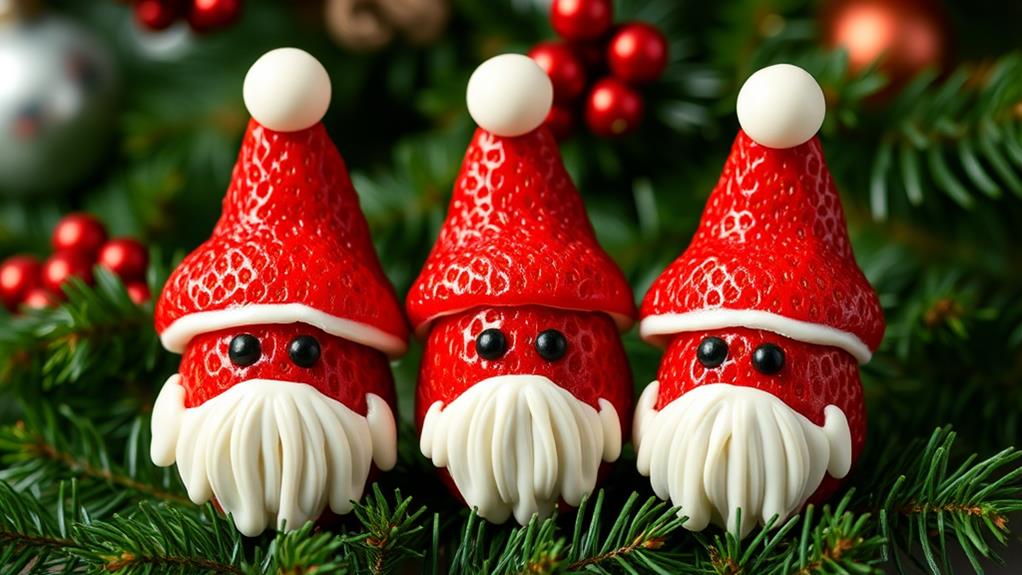
With your strawberry bodies ready, it's time to top them off with the most iconic Santa accessory – the hat!
This is where the magic happens, and your little strawberry Santas start to come to life. The hat is more than just a fashion statement; it's a symbol of Santa's wisdom, kindness, and generosity.
It's the perfect opportunity to get creative and add some festive flair to your strawberry Santas.
Look to Santa's iconic red hat with a white trim for inspiration.
You can use white chocolate or shredded coconut to create the trim, and red frosting or fruit leather to craft the hat itself.
Get creative with the shape and size of the hat – you can make it pointy, rounded, or even add a little pom-pom on top.
The key is to have fun and experiment with different designs until you find one that makes you merry.
As you craft each hat, remember the symbolism behind it.
The hat represents Santa's kind heart, his love for giving, and his jolly spirit.
It's the perfect finishing touch to your strawberry Santas, and it will make them truly special.
Making Beards and Mustaches

Now that your strawberry Santas are donning their festive hats, it's time to give them some facial flair!
With a few simple tweaks, you can transform your Santas from cute to charming. It's all about the details, and facial hair can make or break the overall look.
To create the perfect beard or mustache, you'll need some shredded coconut or white chocolate shavings.
You can also use a toothpick to create fine details or a small paintbrush to apply a dab of melted white chocolate.
Here are some strawberry styling tips to get you started:
- Use a small amount of coconut or chocolate to create a wispy beard or a bushy mustache.
- Experiment with different lengths and shapes to create a unique facial hairdo.
- Pay attention to the proportions – a large beard might overwhelm a small Santa.
- Don't be afraid to get creative and try out different styles, from a handlebar mustache to a bushy beard.
Assembling the Santas
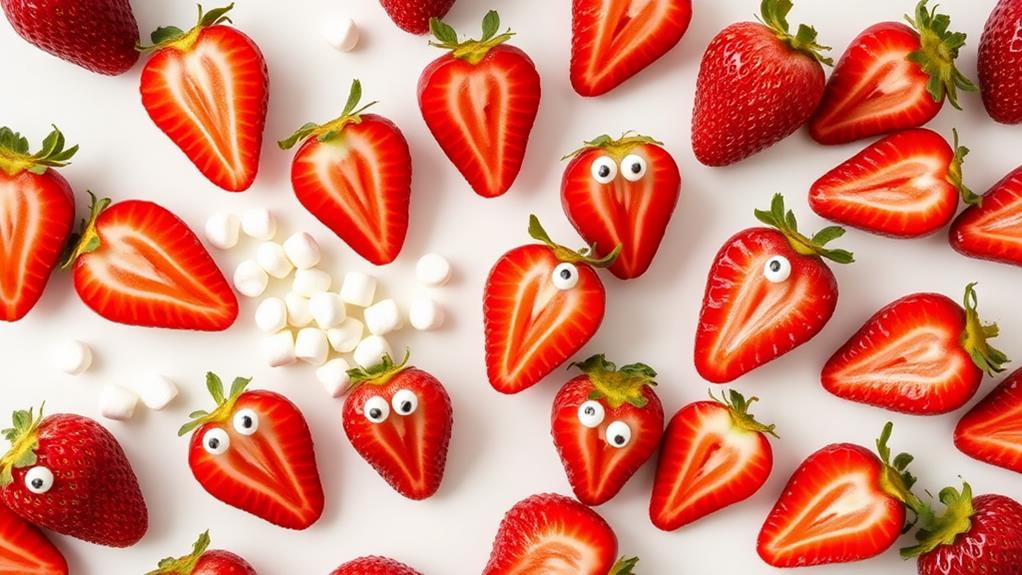
You've got your strawberry Santas looking festive in their hats and sporting stylish beards and mustaches – it's time to bring them to life!
Now, it's time for the final assembly of your fruit sculpture masterpieces. To begin, carefully place a small dollop of whipped cream or white chocolate on the top of each strawberry, creating a base for Santa's head.
Gently press the strawberry head onto the whipped cream or chocolate, making sure it's secure and even.
Next, attach the hat to the top of the strawberry head using a small amount of whipped cream or white chocolate as "glue." Make sure the hat is positioned at a slight angle, giving your Santa a playful touch.
Continue by attaching the beards and mustaches to the strawberry head, using the same "glue" to secure them in place.
As you assemble your Santa strawberries, pay attention to the proportions and balance of each component. You want your fruit sculptures to look sturdy and visually appealing, not lopsided or fragile.
With a little patience and practice, you'll be creating a whole team of adorable little Santas that are sure to delight your friends and family.
Adding Tiny Eyes and Noses
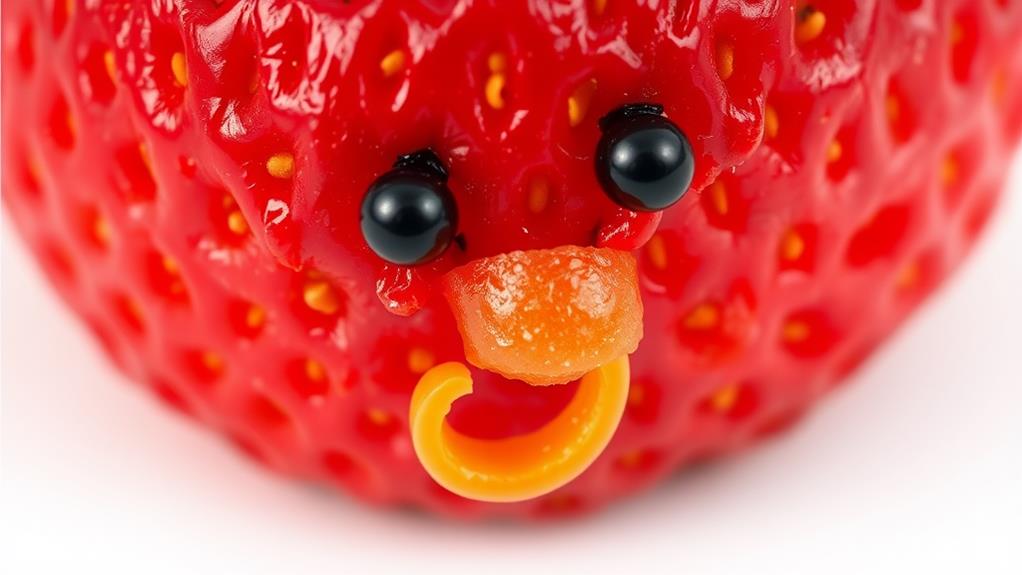
Once your strawberry Santas are securely assembled, it's time to bring their faces to life with tiny eyes and noses!
This is where the magic happens, and your little Santas start to take on their own unique personalities.
To add facial features, you'll need a few simple materials like chocolate chips, white frosting, and a toothpick.
Use the toothpick to apply a small dot of white frosting for each eye, making sure to space them evenly apart. Then, use a chocolate chip to create the nose, attaching it to the strawberry with a dab of frosting.
Make sure the eyes are proportional to the size of the strawberry and spaced evenly apart for a more balanced look.
- Experiment with different sizes and shapes of chocolate chips to create unique noses that add character to each Santa.
- Use a toothpick to create a small mouth if you want to add an extra detail to your Santas.
- Don't be afraid to get creative and try out different facial expressions to make each Santa truly one-of-a-kind.
Crafting Santa's Belt
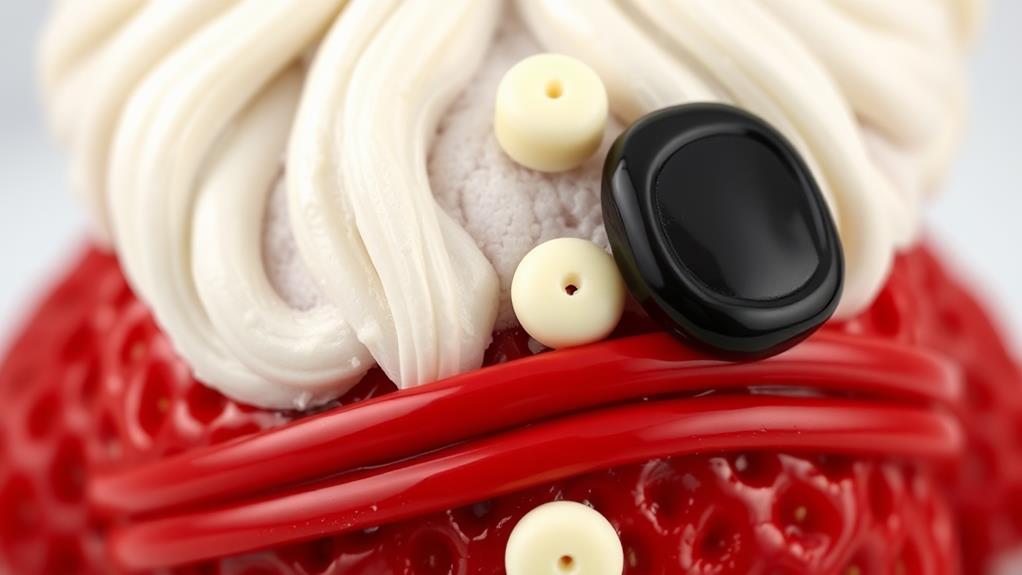
As you're bringing your strawberry Santas to life, it's time to add a crucial element that'll make them look like the jolly old fellow: a belt!
This festive accessory is what sets Santa apart from, well, just a regular guy in a red suit.
To create a belt that's worthy of the big man himself, you'll need a few simple ingredients: a thin strip of white chocolate or white fondant, a Santa buckle, and some creative flair.
Cut the white chocolate or fondant into a long, thin strip, about 1-2 mm wide.
This will be the base of your belt.
For a more realistic look, you can add some subtle texture to the belt by pressing a fork gently onto the surface.
Next, attach the Santa buckle to the center of the belt using a dab of melted chocolate or a tiny bit of edible glue.
You can find Santa buckles in various shapes and sizes online or at your local craft store.
To add some extra flair to your belt, consider adding some belt embellishments, such as tiny holly leaves or red berries made from candy or fondant.
You can arrange these around the buckle or along the length of the belt for a more festive look.
With your belt complete, your strawberry Santa is one step closer to being the merriest of them all!
Adding a Festive Touch
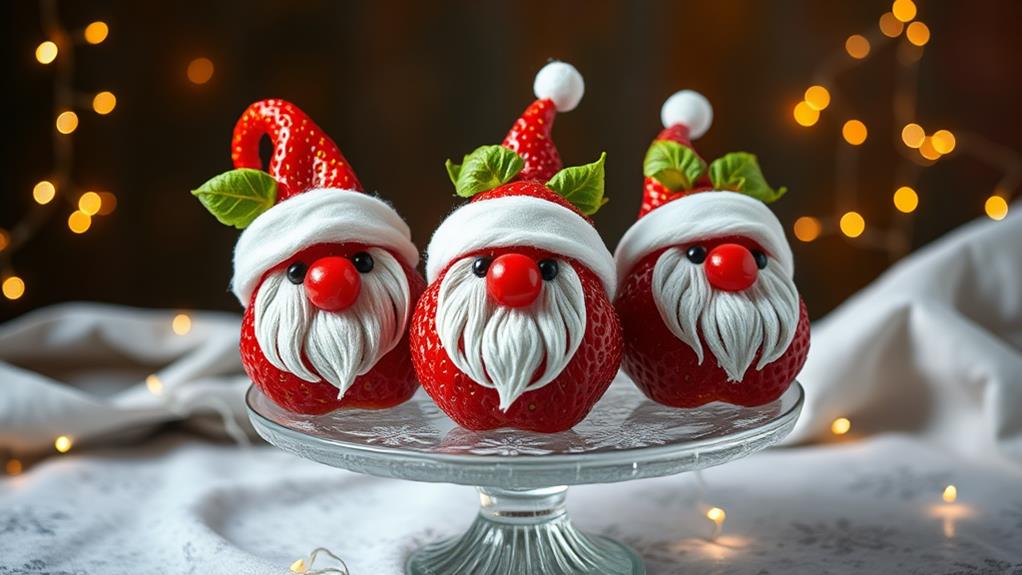
With your strawberry Santa's belt securely in place, it's time to add the perfect finishing touches to make him truly unforgettable.
You've got the foundation of a jolly little fellow, but now it's time to bring him to life with some festive flair.
Adding a few well-placed details can transform your strawberry Santa from cute to enchanting.
Consider these ideas to give your little guy some serious holiday cheer:
- Festive Eyes: Use a dab of white frosting or a small dollop of whipped cream to create sparkling eyes that twinkle with festive cheer.
- Rosy Cheeks: Add a touch of blush or a tiny dollop of red frosting to give your Santa a rosy glow, perfect for a chilly winter's night.
- Holiday Hat: Top your Santa off with a tiny hat made from a sprig of rosemary, a cherry tomato, or even a small piece of red bell pepper. Get creative and have fun with it!
- Festive Decor: Surround your strawberry Santa with festive decor like holly leaves, candy canes, or tiny ornaments to create a miniature winter wonderland.
Displaying Your Strawberry Santas
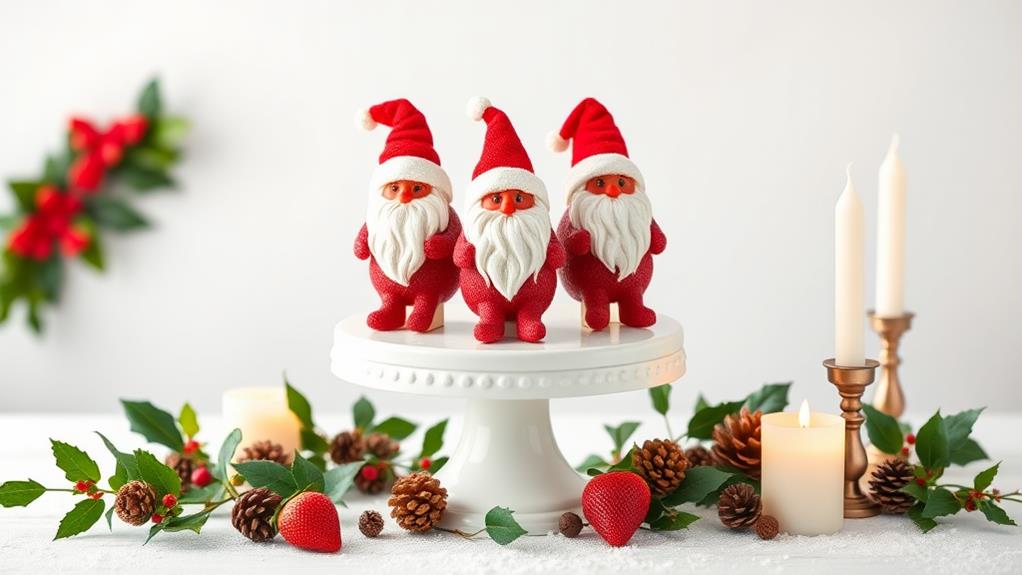
Among the festive treats on your holiday table, your strawberry Santas are sure to be the talk of the party.
Now that you've crafted these adorable little fruit arrangements, it's time to display them in a way that showcases their charm.
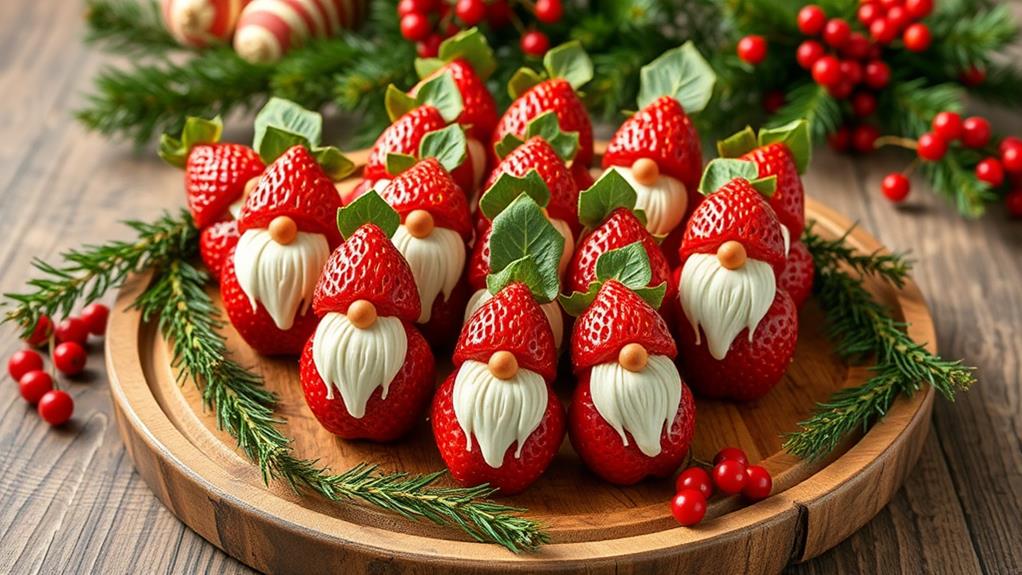
Create a Santa display that's as merry as the big man himself by arranging your strawberry Santas on a tiered serving dish or a decorative platter.
You can also use a festive holiday plate or a wooden cutting board to add a rustic touch.
Group your strawberry Santas together or space them out to create a fun and playful Santa display.
To add some extra holiday cheer, surround your strawberry Santas with festive fruits, nuts, or candies.
Cranberries, grapes, and pineapple wedges make great accompaniments, while chopped nuts or shaved chocolate can add a delightful textural element.
You can also create a mini winter wonderland by arranging your strawberry Santas amidst a bed of shredded coconut or chopped fresh herbs like rosemary or thyme.
Tips for Strawberry Selection
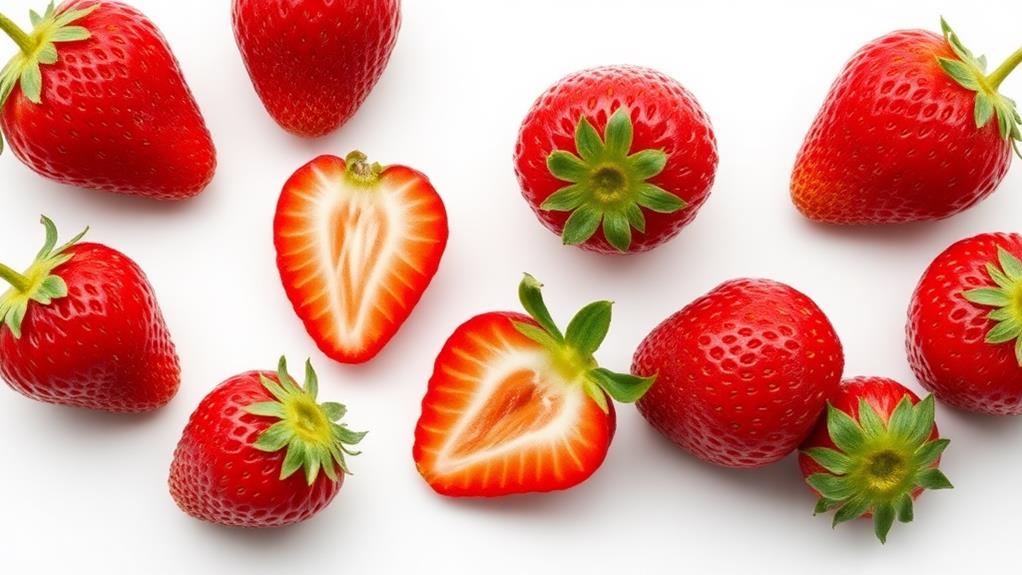
Since you'll be using fresh strawberries to create your adorable little Santas, it's crucial to select the best ones for the job.
You want strawberries that are plump, firm, and have a vibrant red color. Avoid strawberries that are soft, mushy, or have white or green patches, as they may be past their prime or unripe.
When selecting strawberries, keep an eye out for these key characteristics:
- Strawberry ripeness: Choose strawberries that are slightly soft to the touch and have a sweet aroma. Avoid unripe strawberries, as they won't be sweet and may not ripen properly.
- Berry bruises: Inspect the strawberries for bruises, cuts, or blemishes. A few minor scratches are okay, but avoid strawberries with large bruises or soft spots, as they can become mushy during handling.
- Stem freshness: Opt for strawberries with fresh, green stems. Avoid strawberries with wilted or brown stems, as they may be old or drying out.
- Uniformity: Select strawberries that are similar in size and shape. This will make it easier to create uniform Santas and guarantee they look their best.
How to Store Strawberry Santas
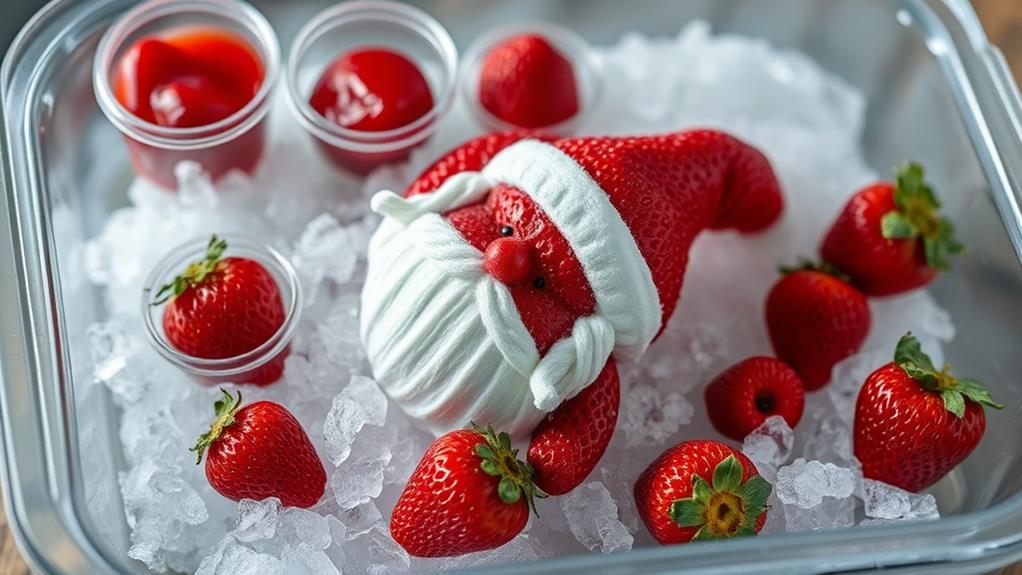
Your adorable little Santas deserve a special place to chill until they're ready to spread holiday cheer.
To keep them fresh and merry, you'll need to store them properly. Fresh storage is key to maintaining their vibrant appearance and flavor.
Start by placing your strawberry Santas in a single layer on a paper towel-lined plate or tray.
This will help absorb any excess moisture and prevent them from getting soggy or bruised. Next, cover them with plastic wrap or aluminum foil, making sure to press the wrap directly onto the strawberries to prevent air pockets from forming.
Refrigeration tips are essential for keeping your strawberry Santas fresh.
Store them in the refrigerator at a consistent temperature below 40°F (4°C).
Avoid washing the strawberries before storing, as excess moisture can cause them to spoil faster.
Instead, gently pat them dry with a paper towel before storing.
You can store your strawberry Santas for up to 24 hours in the refrigerator.
When you're ready to serve, simply remove them from the refrigerator and let them come to room temperature.
With proper storage, your adorable little Santas will stay fresh and festive, ready to delight your holiday guests.
Variations for Strawberry Santas
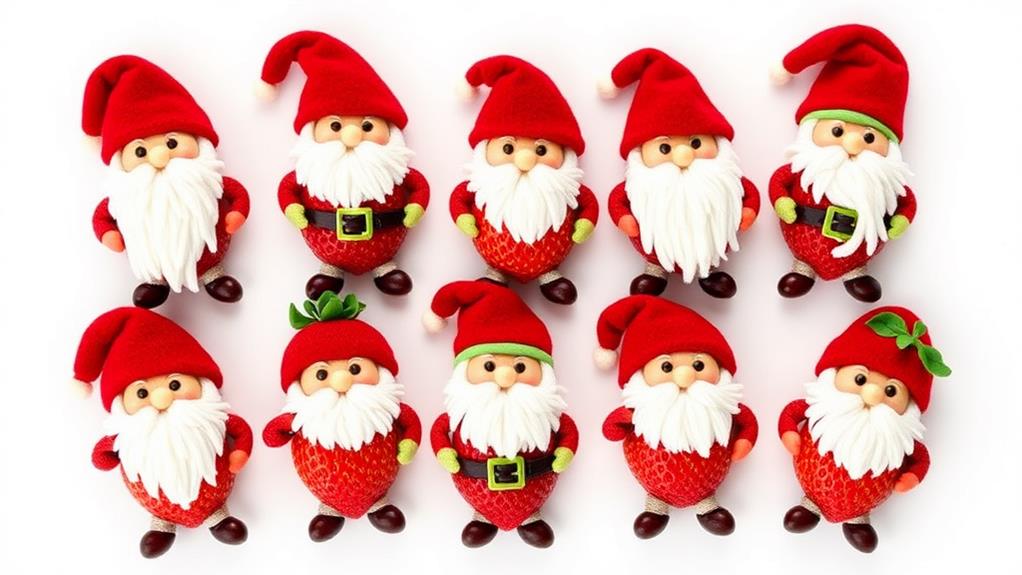
Transforming your strawberry Santas into merry little marvels is as easy as switching up a few ingredients or adding some festive flair.
You can create a variety of Santa variations that will impress your friends and family.
Try these festive twists to give your strawberry Santas a unique personality:
- Chocolate Beard: Dip the strawberry in melted white chocolate and add a sprinkle of crushed nuts or shredded coconut to create a Santa with a chocolate beard.
- Fruit Hat: Top your strawberry Santa with a slice of orange, a grape half, or a cranberry to create a colorful hat.
- Coconut Fur: Roll the strawberry in shredded coconut to give your Santa a fluffy white coat.
- Candy Cane Accents: Use red and white striped candy canes to create a festive belt, hatband, or scarf.
These Santa variations are perfect for holiday parties, potlucks, or as a fun activity for kids.
With a few simple tweaks, you can turn your strawberry Santas into a festive and delicious treat that everyone will love.
Get creative and experiment with different ingredients to create your own unique Santa variations!
Kids' Strawberry Santa Station
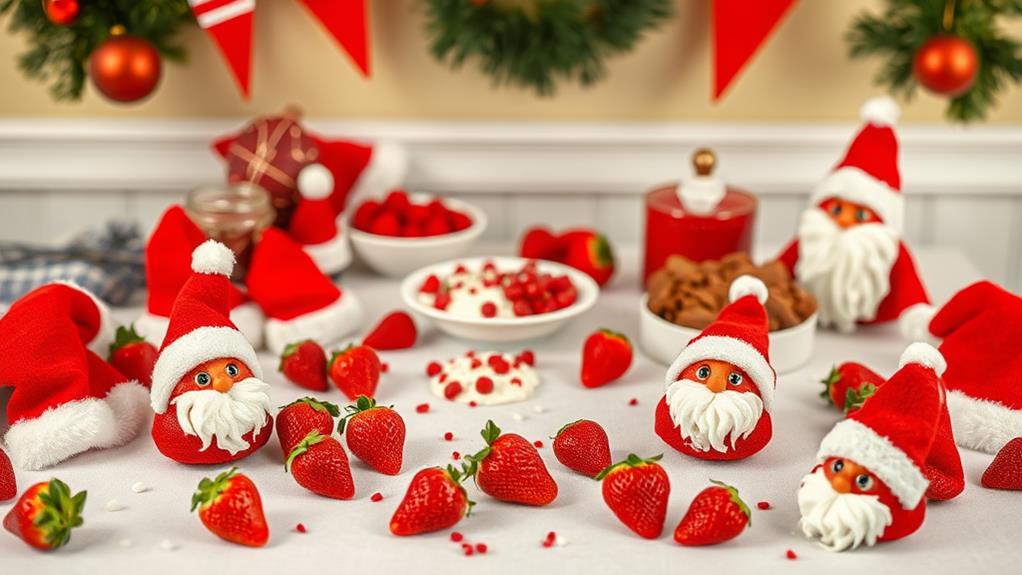
What's more fun than creating your own strawberry Santas?
Setting up a Kids' Strawberry Santa Station, of course! Imagine a designated area where kids can express their creativity, making their own adorable strawberry Santas.
This kid-friendly craft station is the perfect way to create new holiday traditions and memories with your little ones.
At the station, set up a variety of materials, such as fresh strawberries, whipped cream, chocolate chips, and festive sprinkles.
Let the kids' imaginations run wild as they design and create their own strawberry Santas. You can also provide pre-made strawberry Santa templates or examples to inspire them.
This activity not only promotes creativity but also develops fine motor skills and hand-eye coordination.
To make it even more engaging, play holiday music in the background and offer festive snacks and drinks.
You can also set up a designated area for kids to display their finished strawberry Santas, creating a fun and interactive holiday display.
This Kids' Strawberry Santa Station is an excellent way to get kids involved in the holiday spirit, teaching them the value of creativity, patience, and self-expression.
Strawberry Santa Gift Ideas
After setting up a fun and creative Kids' Strawberry Santa Station, take your holiday cheer to the next level by turning those adorable strawberry Santas into thoughtful gifts!
You've already had a blast creating these tiny treats, and now it's time to share the joy with friends and family.
Transform your strawberry Santas into sweet presents by getting creative with gift wrapping.
Use festive paper, ribbons, and bows to make them stand out.
You can also add a personal touch by including a handwritten note or a small holiday card.
Here are some ideas to get you started:
- Create a strawberry Santa fruit kebab by threading grapes, strawberries, and pineapple chunks onto a stick, finishing it off with a cherry on top.
- Package a few strawberry Santas in a small mason jar or container, surrounded by festive holly or berries.
- Design a custom gift box or bag with a holiday theme, and fill it with an assortment of strawberry Santas and other sweet treats.
- Make a strawberry Santa gift basket by arranging a selection of fresh fruits, cheeses, and crackers, and topping it off with a few of your adorable strawberry creations.
Your strawberry Santas are sure to bring a smile to anyone's face, and with a little creativity, they can become the perfect holiday gift!
Santa's Little Helper Tips
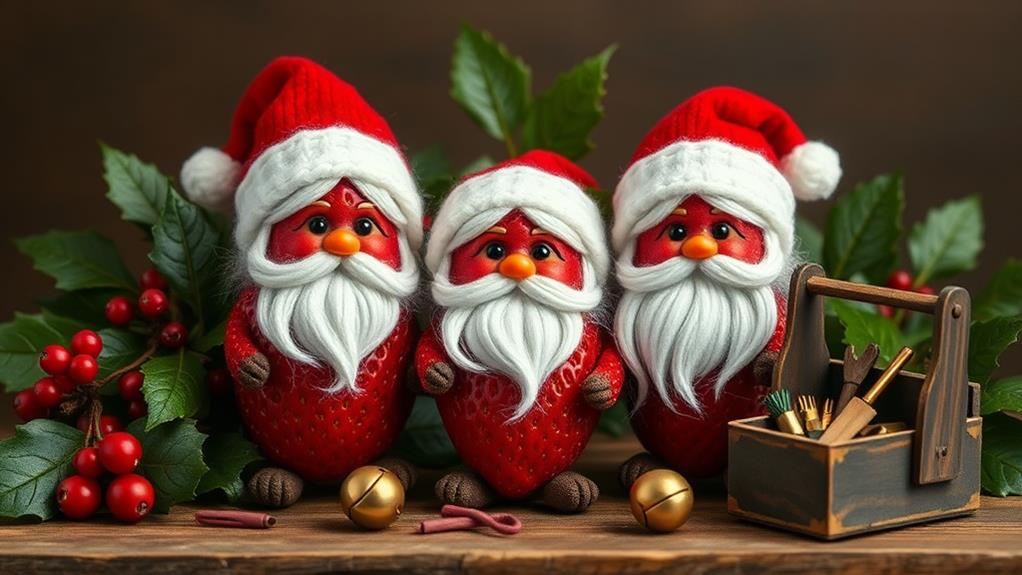
You're about to become Santa's little helper extraordinaire, and we've got the inside scoop to make your strawberry Santa gift-giving experience merry and bright!
With these Santa's secrets and helper hacks, you'll be whipping up adorable strawberry Santas like a pro.
First, prep your strawberries by washing and drying them thoroughly. This will guarantee your Santas stay fresh and don't turn into soggy messes.
Next, use a toothpick to create a small hole for the hat – this will help you place it securely.
When assembling your Santas, start with the hat and work your way down to the body and beard. This will prevent any messy mishaps.
To add an extra touch of magic, use a small dollop of whipped cream or frosting to attach the hat and create a snowy effect.
And, for an added sparkle, sprinkle some edible glitter or chopped nuts onto your Santas.
Finally, package your creations in cute containers or bags and add a personalized note to make them an unforgettable gift.
With these insider tips, you'll be well on your way to becoming the ultimate Santa's little helper.
Conclusion
You've crafted an army of adorable strawberry Santas, each one bursting with festive charm! Display them proudly on a tiered serving dish or decorative platter, surrounded by colorful fruits, nuts, or candies. As the star of your holiday gathering, they're sure to delight both kids and adults alike. With their sweet strawberry bodies, white chocolate hats, and coconut beards, they're the perfect treat to spread holiday cheer!


