Easy DIY Homemade Halloween Decorations
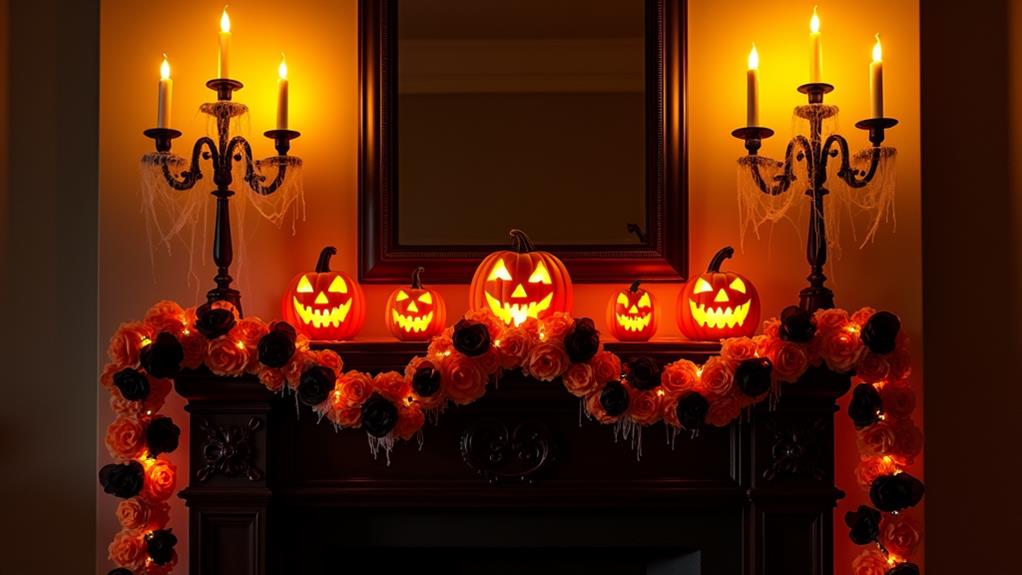
As we start preparing for Halloween, we're enthusiastic to transform our homes into spooky yet inviting spaces. One of the best ways to do this is by creating our own DIY decorations. Not only will they add a personal touch, but they're also budget-friendly and easy to make. From cobweb-covered lanterns to glowing eyeball candles, we'll show you how to create a hauntingly beautiful atmosphere without breaking the bank. With a few simple materials and some creativity, we can turn our homes into a haunted haven that will leave our guests screaming – with delight!
Key Takeaways
- Create a spooky ambiance with lantern decorations, such as cobweb-covered lantern centerpieces or mason jar mummy lanterns.
- Use paper and cardstock to create ghostly silhouettes, bat wing wall decorations, and other eerie designs.
- Transform pumpkins into unique candle holders by hollowing them out and carving out holes for tea lights.
- Add a whimsical touch with candy corn wreaths, made by gluing candy corn to a wire or foam wreath form.
- Use glow-in-the-dark paint, red acrylic paint, and other materials to create eerie and glowing decorations, such as eyeball candles and faux blood-dripping candles.
Cobweb-Covered Lantern Centerpiece

We're conjuring up a spooky ambiance with our Cobweb-Covered Lantern Centerpiece, a DIY project that's eerily easy to create.
As part of our Fall Decor, this lantern is a great addition to any Halloween party or gathering.
To start, gather a lantern (you can use a glass vase or a metal lantern), some black cotton cobwebs, a hot glue gun, and a few artificial spiders.
Begin by wrapping the cobwebs around the lantern, using the hot glue gun to secure them in place.
Make sure to cover the entire lantern, leaving some areas thicker than others to create a more realistic spider web effect.
Next, add a few artificial spiders to the web for an extra scare factor.
Mason Jar Mummy Lantern
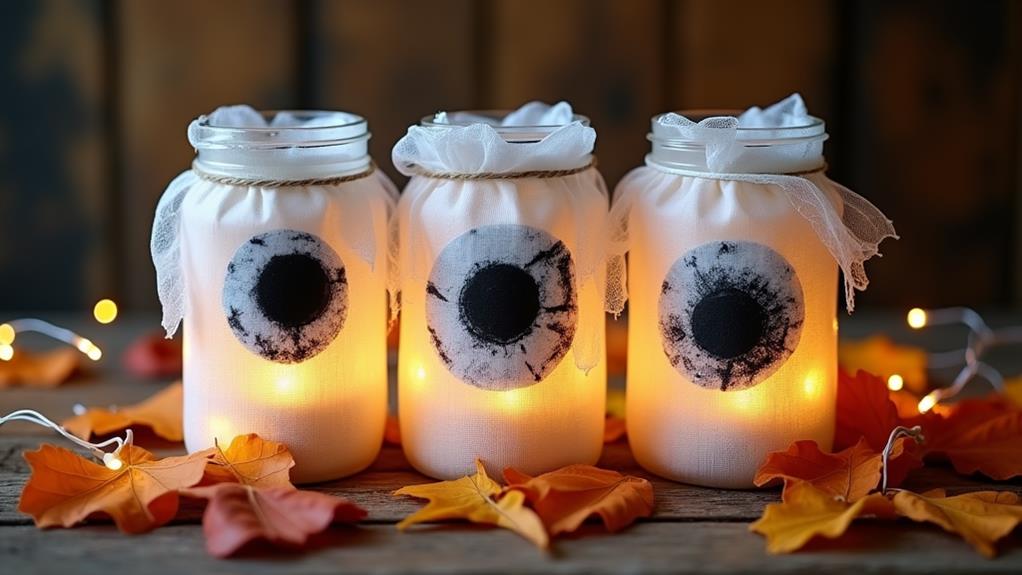
Several spooky lanterns can elevate the ambiance of our Halloween party, and our next DIY project, the Mason Jar Mummy Lantern, is sure to be a hit.
To create this Mummy craft, we'll need a few simple materials: a clean mason jar, white gauze or toilet paper, scissors, glue, and a tea light or small candle.
First, wrap the white gauze or toilet paper around the mason jar, overlapping the layers to create a mummy-like effect.
Secure the gauze with glue, making sure to cover the entire jar. Leave a small opening at the top for the tea light or candle.
For a more realistic look, we can add some torn strips of gauze or toilet paper to create a worn, tattered effect.
Once the glue is dry, place the tea light or candle inside the jar and light it up.
The soft glow will add an eerie ambiance to our Halloween party.
We can also add some decorative eyes or a mouth to our mummy lantern using black paint or markers for a more personalized touch.
With these simple steps, we can create a spooky yet elegant Jar decorating idea that's sure to impress our guests.
Ghostly Paper Bag Silhouettes
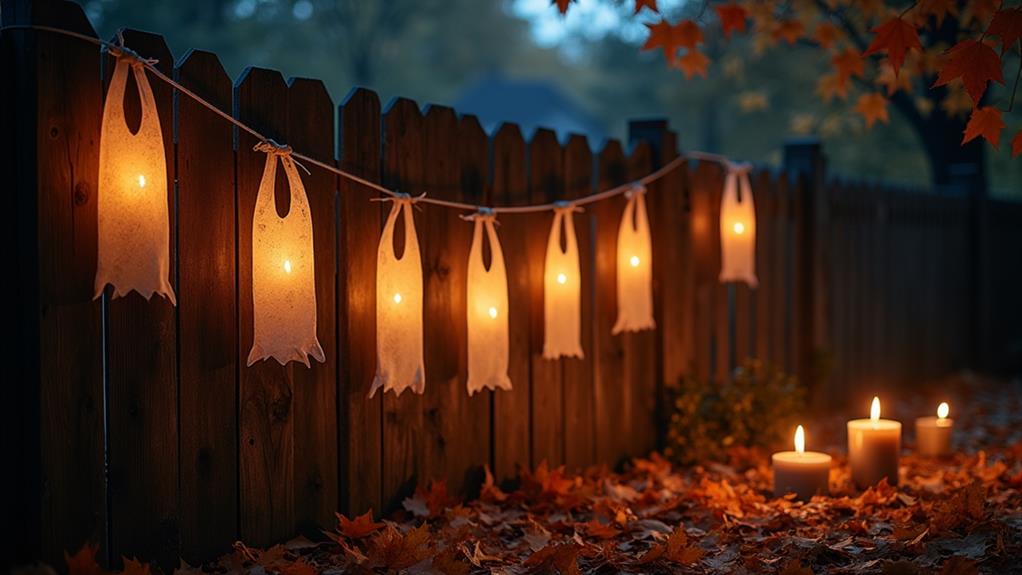
As the witching hour approaches, we're enthusiastic to conjure up some spooky decorations to set the tone for our Halloween party.
One of our favorite paper crafting projects is creating ghostly paper bag silhouettes that add an eerie ambiance to our decor.
To start, we gather black paper bags, scissors, glue, and a pencil.
We draw spooky silhouettes like bats, ghosts, and spiders on the bags, making sure to keep the designs simple yet eerie.
Next, we cut out the silhouettes, taking care not to rip the paper.
For added depth, we layer the cut-outs, gluing them together to create a 3D effect.
Once the glue dries, we hang our ghostly silhouettes in windows or from the ceiling using fishing line or string.
As the light shines through, the silhouettes cast spooky shadows, creating an atmosphere that's perfect for a Halloween party.
This project is easy, inexpensive, and requires minimal materials, making it a great DIY decoration for any Halloween enthusiast.
Pumpkin Shell Candle Holder
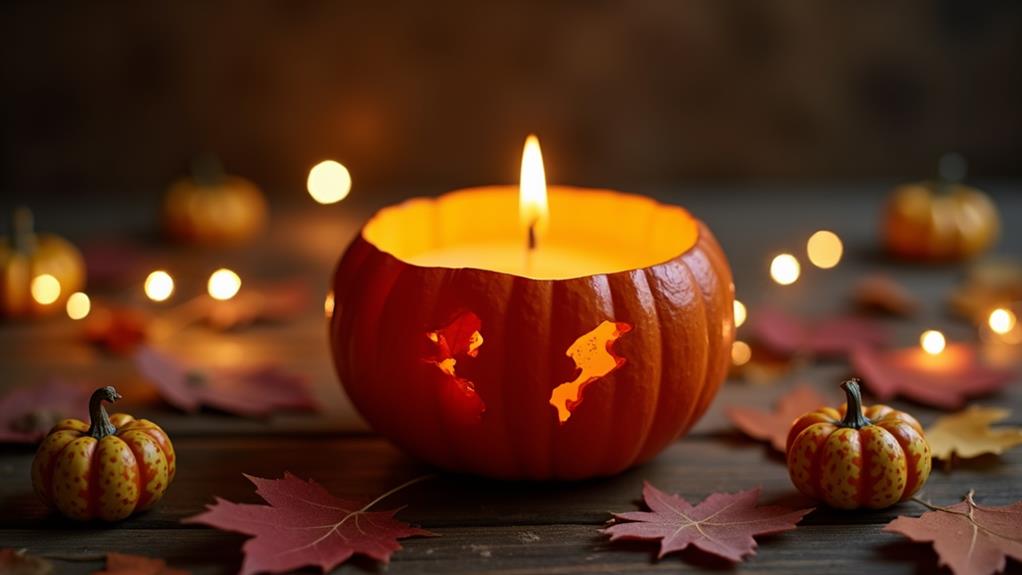
Three pumpkins later, we've carved out a unique DIY decoration that's sure to illuminate our Halloween party – a pumpkin shell candle holder.
We started by selecting three different pumpkin varieties – a white ghost pumpkin, a bright orange sugar pumpkin, and a deep blue-gray heirloom pumpkin. Each one adds its own unique character to our Autumn ambiance.
Next, we carefully hollowed out each pumpkin, making sure to scoop out as much of the pulp and seeds as possible.
With a serrated knife, we carved out a hole at the top of each pumpkin, just large enough to fit a tea light candle.
We placed a candle in each pumpkin, and the soft, flickering light instantly transformed our pumpkins into warm and inviting decorations.
Candy Corn Wreath Decoration
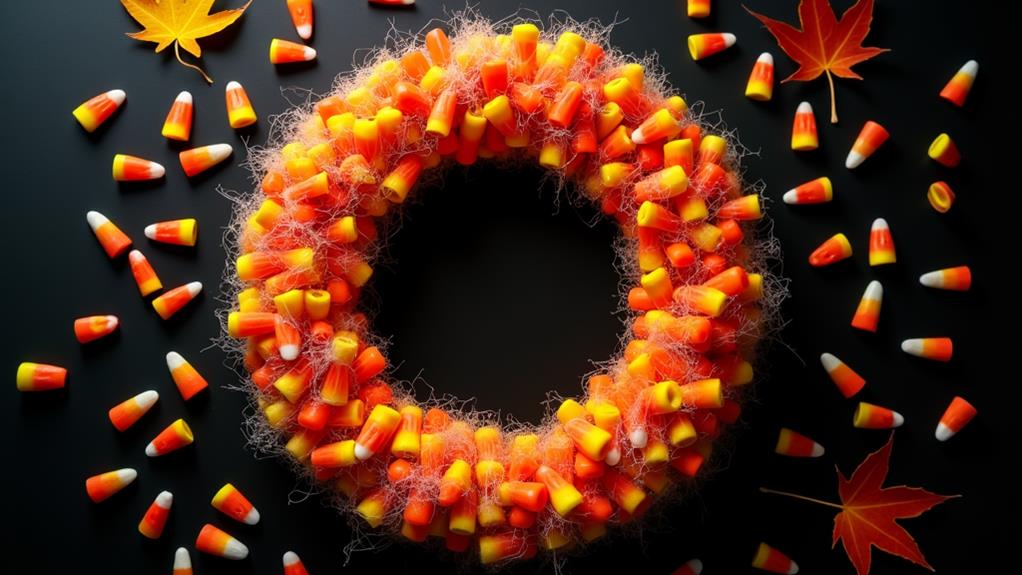
Crafting a candy corn wreath decoration is a fun and easy DIY project that adds a pop of color and whimsy to our Halloween decor.
To get started, we'll need a wire or foam wreath form, a hot glue gun, and a bag of candy corn in traditional corn colors – yellow, orange, and white.
We'll begin by gluing the candy corn to the wreath form in a pattern, overlapping the pieces to guarantee complete coverage.
As we work our way around the wreath, we can adjust the pattern to create a more random, playful look.
Once the entire wreath is covered, we'll add a ribbon or twine to hang it.
This candy corn wreath is a great addition to our Fall decorations and can be displayed on a door, wall, or mantel.
With its bright colors and whimsical charm, it's sure to add a festive touch to our Halloween decor.
Spider Web Door Hanger
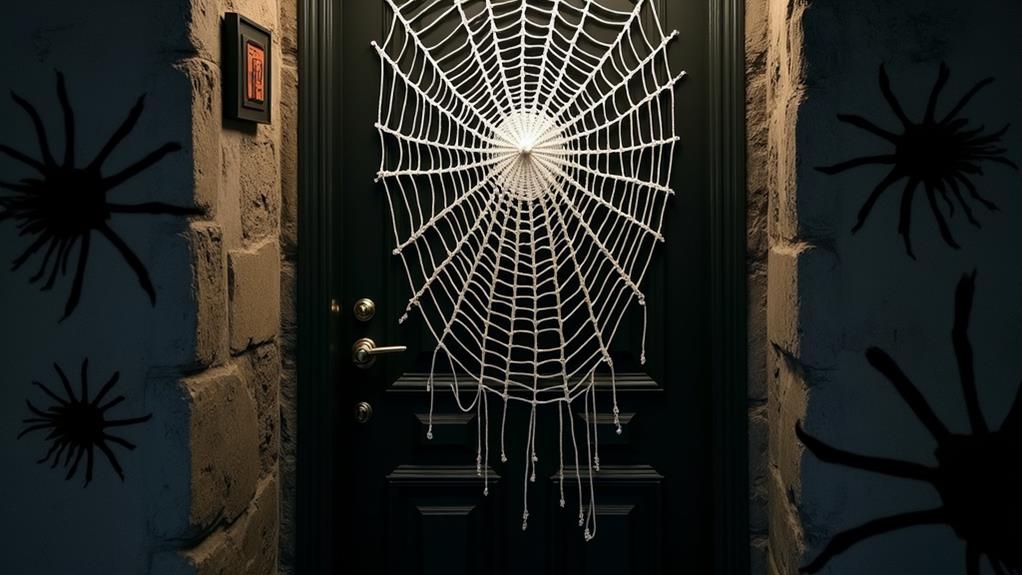
With Halloween just around the corner, we're itching to create a spooky yet stylish door hanger that sets the tone for our festive decor.
We're going for a Spider theme, and what's more iconic than a giant spider web? For this project, we'll need a wire or foam door hanger, black yarn or twine, scissors, and a hot glue gun.
To start, wrap the yarn or twine around the door hanger in a Web design, overlapping the threads to create a dense, spider-like pattern.
Secure the yarn with hot glue as you go, making sure to cover the entire surface.
Once you've achieved the desired web effect, cut off any excess yarn and fluff out the strands to create a more textured look.
Mini Graveyard Terrarium Scene
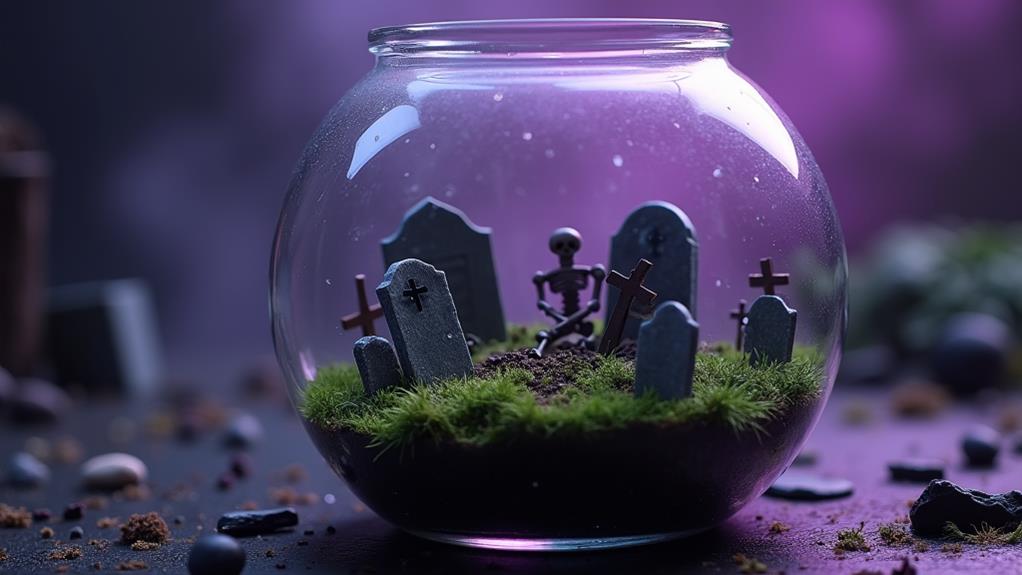
Into the eerie atmosphere of our Halloween decor, we're adding a chilling miniature graveyard scene, perfectly contained within a terrarium.
This mini graveyard terrarium scene is an easy and creative way to add a spooky touch to our Halloween decorations.
To create this mini graveyard, we'll need:
- A glass terrarium or a small glass container
- Small rocks or pebbles
- Artificial moss or small plants
We'll start by adding a layer of small rocks or pebbles at the bottom of the terrarium, creating a sense of depth.
Next, we'll add a layer of artificial moss or small plants, giving our mini graveyard a sense of life.
Finally, we'll add tiny tombstones, skeletons, and other Halloween-themed decorations to create a spooky graveyard atmosphere.
With these simple steps, we'll have a unique and eerie mini landscape that's sure to impress our guests.
Skeleton Hand Candle Holder
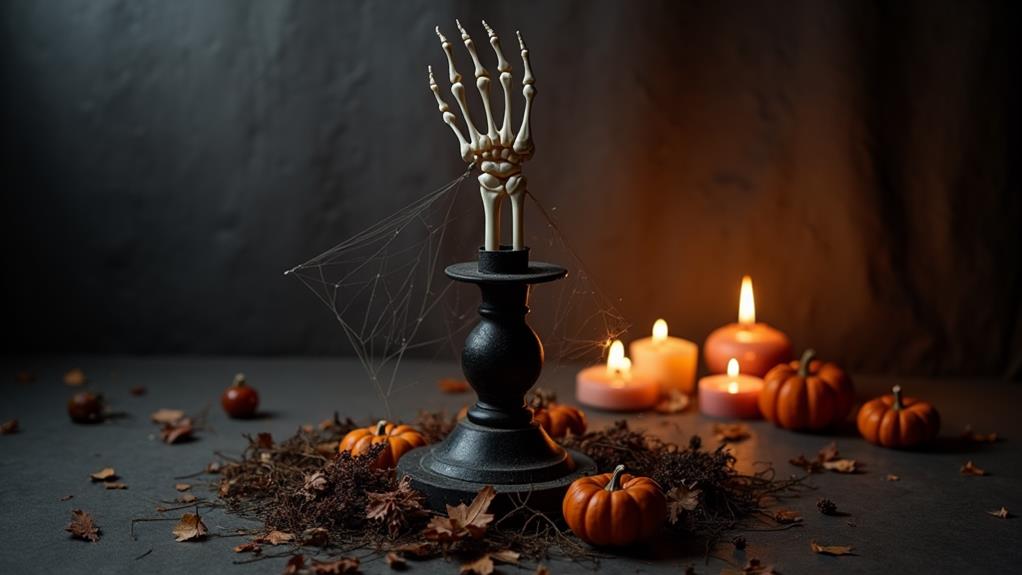
Frequently, we find ourselves searching for unique and creative ways to display our candles during the Halloween season.
One of our favorite DIY projects is the Skeleton Hand Candle Holder, a spooky yet elegant Skeleton craft that adds a touch of macabre charm to any room.
To make this Hand decor, start by gathering a few simple materials: a white candle, a skeleton hand model, and some hot glue.
Paint the skeleton hand black or gray to give it a more eerie look. Next, apply hot glue to the top of the hand and attach the candle, making sure it's centered and secure.
You can also add some fake spider webs or plastic spiders around the hand for an extra creepy effect.
Finally, place the candle holder on a table or mantle, and enjoy the spooky ambiance it creates.
This Skeleton Hand Candle Holder is a unique and creative way to display your candles this Halloween season, and it's sure to be a conversation starter at any party or gathering.
Glowing Eyeball Candle Decoration
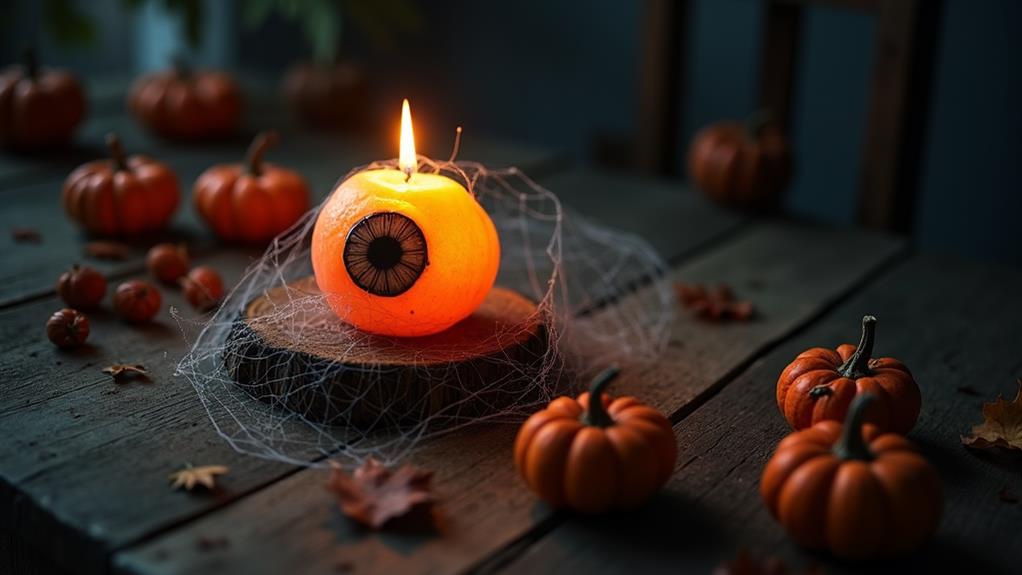
We often get excited to create spooky decorations that will make our Halloween gatherings unforgettable, and one of our favorite DIY projects is the Glowing Eyeball Candle Decoration.
This eerie centerpiece adds a spooky ambiance to our tables, and it's surprisingly easy to make.
Here's what you'll need:
- White candles: You can use any size or shape, but we like to use pillar candles for a more dramatic effect.
- Glow-in-the-dark paint: This is the magic that makes the eyeballs glow. You can find it at most craft stores.
- Black paint and a paintbrush: For creating the pupil and adding details to the eyeball.
To create the Glowing Eyeball Candle Decoration, start by painting the candles with black paint, leaving a small circle in the center for the pupil.
Then, use the glow-in-the-dark paint to create the eerie glow effect.
Once dry, place the candles on a decorative plate or tray, and you'll have a spooky centerpiece that's sure to impress.
The flickering candlelight effects will make the eyeballs seem like they're staring right at you, adding to the spooky ambiance of your Halloween gathering.
Faux Blood Dripping Candle

After creating an eerie ambiance with our Glowing Eyeball Candle Decoration, we're taking it up a notch with a Faux Blood Dripping Candle that's sure to send chills down our guests' spines.
This creepy decoration is easy to create and adds a bloody twist to our Halloween decor.
To start, we'll need a white candle, some red acrylic paint, and a paintbrush.
We'll paint the candle with thick, dripping strokes to create a bloody effect.
For added realism, we can use a toothpick to create texture and dimension on the candle.
Next, we'll let the paint dry completely before lighting the candle.
As the wax melts, the "blood" will appear to drip down the sides, creating a spooky ambiance.
To take it up a notch, we can place the candle in a dimly lit corner or surround it with fake spider webs and plastic spiders.
The result is a haunting centerpiece that's sure to impress our friends and family.
With these bloody details, we're creating a creepy ambiance that'll make our Halloween party unforgettable.
Bat Wing Wall Decoration
Hang bat wings on your wall to create a haunting silhouette that'll have your guests shrieking with delight.
For a spooky Bat Decor Inspiration, we're going to create a dramatic Wing Craft Idea that's surprisingly easy to make.
To get started, you'll need:
- Black cardstock or foam sheets: These will be the base of your bat wings. You can choose either material, depending on how sturdy you want your wings to be.
- Scissors or a craft knife: Use these to cut out the wing shape from your chosen material. You can find templates online or create your own design.
- String or fishing line: This will be used to hang your bat wings on the wall. You can attach them to a mobile or hang them individually for a more dramatic effect.
Cut out multiple wings in different sizes to create a flock of bats flying across your wall.
Arrange them in a pattern that looks eerie and unsettling.
You can also add some black paint or markers to give them a more realistic look.
With these easy steps, you'll have a haunting Bat Wing Wall Decoration that'll be the talk of the town this Halloween.
Conclusion
We've conjured up a hauntingly beautiful Halloween spread, and it's time to put the finishing touches on our DIY decorations. With these spooky yet simple creations, our homes are now transformed into eerie abodes, ready to welcome trick-or-treaters and party guests alike. As the witching hour approaches, our glowing eyeballs, mummy lanterns, and cobweb-covered centerpieces will cast a spell of delight on all who enter.


